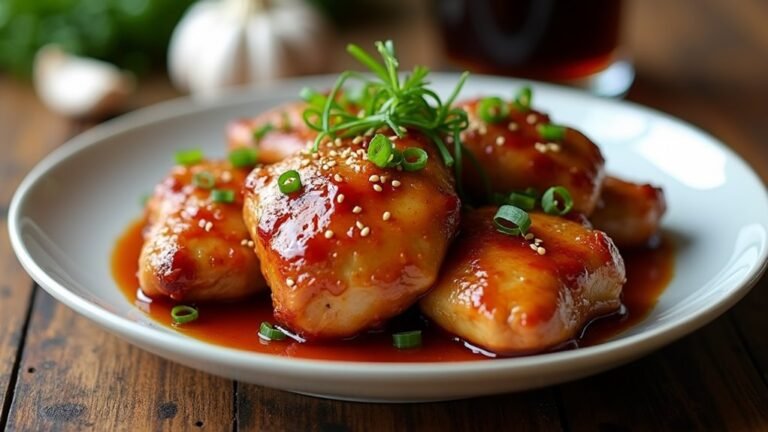
Balsamic Glazed Chicken Recipe: Sweet and Tangy
Imagine crafting a dish that balances the sweetness of honey with the tanginess of balsamic vinegar: Balsamic Glazed Chicken. Season the chicken breast for flavor-packed bites, and let the aroma fill your kitchen.
The glaze is simple yet transformative, elevating ordinary chicken into something special. Achieving a glossy finish and deep flavor hinges on one crucial, surprising step.
Key Takeaways
- Use 4 boneless, skinless chicken breasts for the recipe.
- Season and cook chicken until golden brown before glazing.
- Make a glaze with 1 cup balsamic vinegar and 3 tablespoons honey.
- Simmer the glaze until thick, then coat chicken thoroughly.
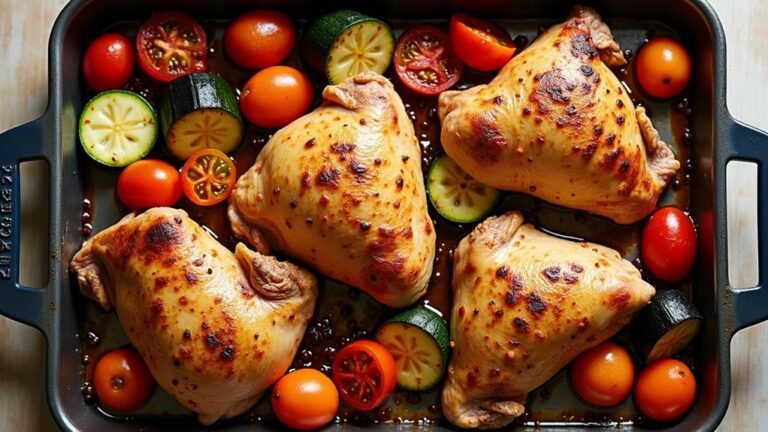
- Serve with roasted vegetables or salad for a complete meal.
Recipe
Sure! Here's a recipe for Balsamic Glazed Chicken:
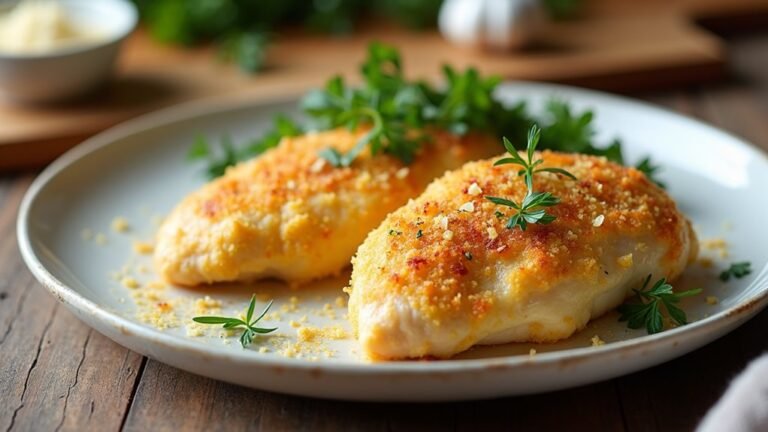
Balsamic Glazed Chicken is a delightful dish that combines the deep, rich flavors of aged balsamic vinegar with the natural sweetness of honey. This simple yet elegant recipe transforms basic chicken breasts into a gourmet meal that's perfect for any occasion. The balsamic reduction creates a beautifully balanced glaze that coats the chicken, providing a sweet and tangy flavor profile. With just a few ingredients, you can prepare a dish that tastes like it came from a fine dining restaurant.
This recipe is straightforward and requires minimal preparation time, making it ideal for both busy weeknights and special events. The key to achieving the perfect balsamic glaze is using high-quality balsamic vinegar, which will result in a more complex and nuanced flavor. Follow the steps below to create a delicious and impressive meal that will satisfy your taste buds.
Ingredients:
- 4 boneless, skinless chicken breasts
- 1 cup balsamic vinegar
- 3 tablespoons honey
- 2 tablespoons olive oil
- 1 teaspoon salt
To prepare this dish, begin by seasoning the chicken breasts with salt. Heat the olive oil in a large skillet over medium-high heat, then add the chicken breasts. Cook them for 5-7 minutes on each side until they're golden brown. Remove the chicken from the skillet and set it aside.
In the same skillet, combine the balsamic vinegar and honey, stirring well. Bring the mixture to a boil, then reduce the heat and let it simmer for 10-12 minutes until the sauce thickens. Return the chicken to the pan, coat it with the glaze, and cook for an additional 2-3 minutes until the chicken is heated through.
For best results, ensure that the balsamic reduction is the right consistency before coating the chicken. It should be thick enough to coat the back of a spoon; if it becomes too thick, simply add a tablespoon of water to thin it out.
Let the chicken rest for about 5 minutes before serving, allowing the glaze to set and the juices to redistribute within the meat, ensuring each bite is succulent and flavorful.
Cooking Steps
Get ready to create an unforgettable meal by seasoning your chicken with salt and cooking it until it's beautifully golden brown.
Next, you'll simmer the balsamic vinegar and honey together, transforming them into a luscious glaze that you'll coat the chicken with, adding a touch of elegance to every bite.
Finally, let the chicken rest for a few minutes, ensuring it stays juicy and allowing the flavors to meld perfectly.
Step 1. Season Chicken With Salt
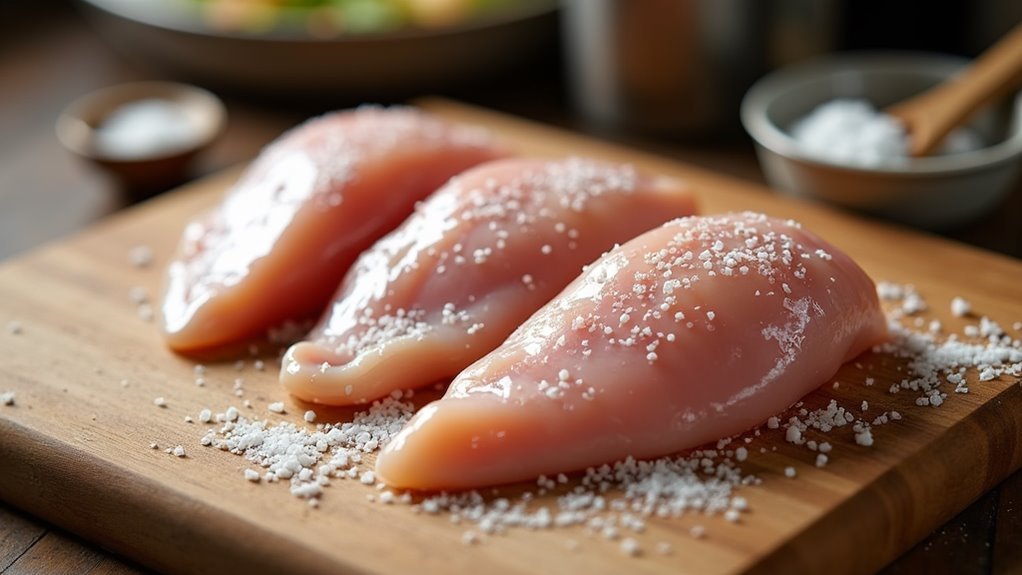
Seasoning the chicken with salt is a crucial first step that enhances its flavor and helps retain moisture during cooking.
You're setting the stage for a delicious meal with this simple yet essential action. Sprinkle the salt evenly over each chicken breast, ensuring it's well-distributed.
This not only brings out the natural flavors of the chicken but also helps to lock in the juices, resulting in a moist and tender texture.
As you rub the salt into the meat, you're giving it a chance to work its magic, preparing it for the tangy balsamic glaze to come.
Remember, the right amount of seasoning can make all the difference, turning a simple dish into a mouthwatering experience.
Enjoy the process!
Step 2. Cook Chicken Until Golden
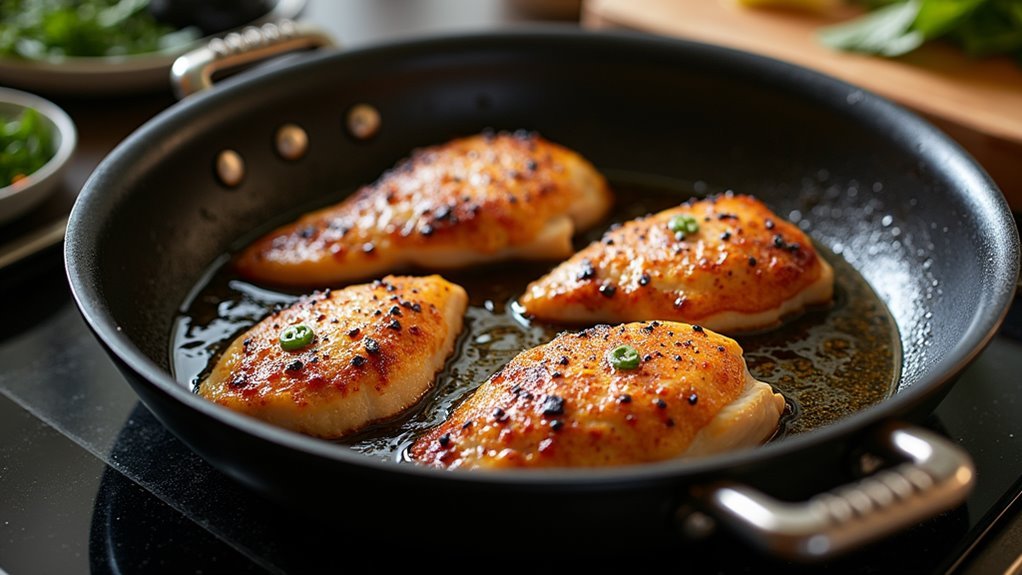
Begin by heating the olive oil in a large skillet over medium-high heat until it shimmers.
This is where the magic starts! Place your seasoned chicken breasts into the hot skillet, and listen to that sizzle—it's the sound of deliciousness in the making.
Cook each side for about 5-7 minutes. You're aiming for a beautiful golden-brown crust that locks in all the juices, ensuring your chicken remains succulent and flavorful.
As you turn the chicken, notice the transformation as it develops a rich, golden hue.
This step is crucial because that golden exterior won't only taste amazing but also provide a stunning contrast to the glossy balsamic glaze you'll be adding later.
Enjoy the process!
Step 3. Simmer Balsamic and Honey Mixture

Once you've set the chicken aside, it's time to create the flavorful glaze. Pour the balsamic vinegar and honey into the same skillet to capture all those tasty bits left from the chicken.
Stir them together with a sense of excitement, knowing the magic that's about to unfold. As the mixture begins to boil, reduce the heat to a gentle simmer.
You'll watch as it starts to thicken into a rich, glossy glaze. This step is crucial—take your time, letting the sauce reduce for about 10-12 minutes.
Keep an eye on it, stirring occasionally, and enjoy the enticing aroma that fills your kitchen. You're crafting a sweet and tangy masterpiece, transforming simple ingredients into something extraordinary.
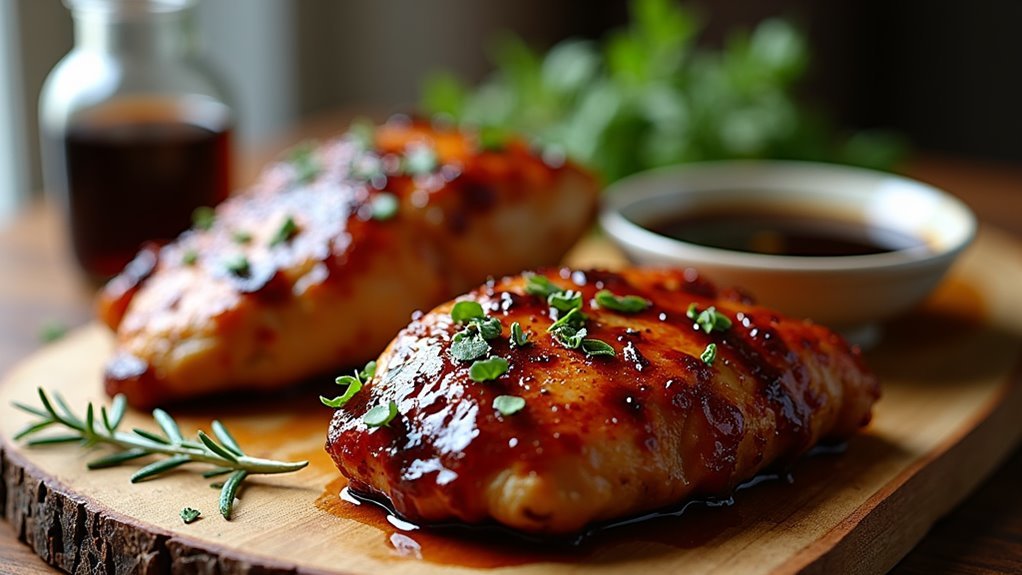
Step 4. Coat Chicken With Glaze
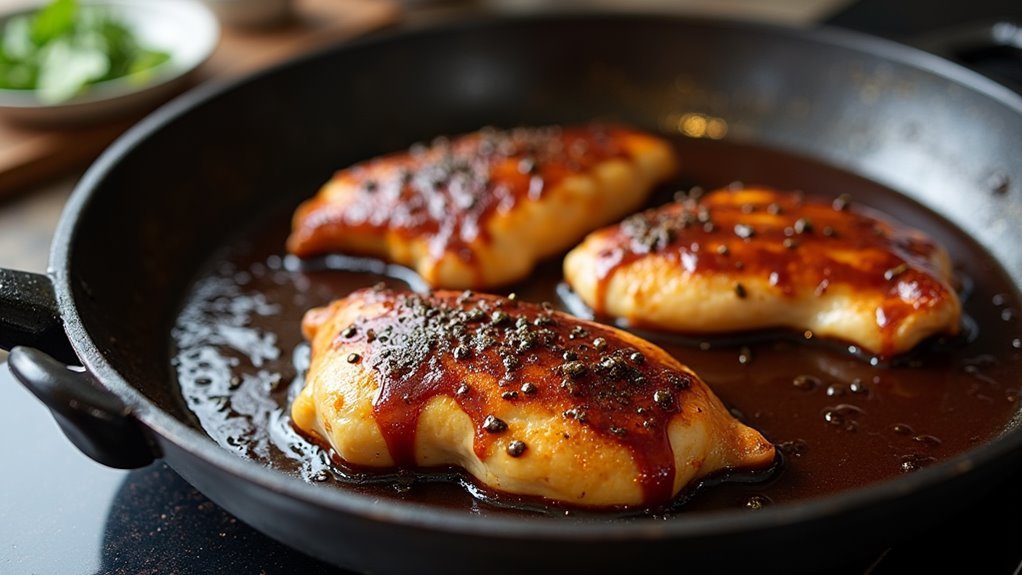
With the balsamic glaze ready, it's time to create a beautifully glazed chicken masterpiece.
Return the golden-brown chicken to the pan, letting each piece soak up the rich, tangy glaze. Use a spoon or a brush to generously coat every surface of the chicken, ensuring that the sweet and tangy flavors envelop each piece.
As you work, watch the glaze transform into a glossy, irresistible coating, clinging perfectly to the juicy chicken. The aromas will fill your kitchen and make your mouth water!
Let the glaze bubble gently around the chicken for 2-3 minutes, allowing it to seep into every crevice. This step ensures each bite bursts with flavor, turning your dinner into a restaurant-worthy experience.
Enjoy this culinary triumph!
Step 5. Let Chicken Rest Briefly

After glazing the chicken, it's crucial to let it rest for a few minutes. This simple step ensures the meat stays juicy and tender, allowing the flavors to meld perfectly. As the chicken sits, the juices redistribute evenly, preventing them from spilling onto your plate when you cut into it.
This brief resting period also allows the balsamic glaze to set beautifully, enhancing its sweet and tangy profile.
While you're waiting, use this time to prepare any side dishes or garnish your meal. A fresh salad or roasted vegetables pairs wonderfully with the rich flavors of balsamic glazed chicken.
Embrace this moment as an opportunity to add your personal touch, making the dining experience even more delightful for you and your guests.
Final Thoughts
Crafting a balsamic glazed chicken dish offers a rewarding culinary experience that elevates simple ingredients into a gourmet meal.
You'll find joy in blending rich balsamic vinegar with sweet honey, transforming chicken into a masterpiece. The beauty of this recipe lies in its simplicity. With just a few ingredients, you create a dish bursting with flavor, perfect for any occasion.
Don't hesitate to experiment with this recipe. Add your favorite herbs or spices, and let your creativity shine. The balance of sweet and tangy notes makes it a crowd-pleaser, guaranteed to impress family and friends.
Serve it with roasted vegetables or a fresh salad for a complete meal. Enjoy the process, and relish the delicious results that bring joy to your table.
[DIRECTIONS]:
Frequently Asked Questions
Can I Substitute Honey With Maple Syrup or Agave Nectar?
Absolutely, you can substitute honey with maple syrup or agave nectar!
Each brings a unique twist to the dish. Maple syrup adds a rich, earthy sweetness, while agave nectar offers a lighter, more neutral flavor.
Just keep the quantities the same, and you'll still achieve that lovely sweet and tangy balance.
Experimenting with these substitutes is a fantastic way to personalize the dish and discover new flavors that delight your taste buds!
Is It Possible to Use Bone-In Chicken for This Recipe?
Absolutely, you can use bone-in chicken for this dish, reminiscent of a rustic Italian countryside meal.
Just be prepared to adjust the cooking time, as bone-in pieces take a bit longer to cook through.
Brown the chicken as you'd with boneless, then simmer it in the luscious balsamic glaze until fully cooked.
You'll enjoy a juicy, flavorful result, with the bones adding even more depth to the rich, tangy sauce.
Enjoy the culinary adventure!
What Side Dishes Pair Well With Balsamic Glazed Chicken?
You'll love pairing balsamic glazed chicken with roasted vegetables like carrots and Brussels sprouts, which balance the sweet and tangy flavors beautifully.
Try serving it alongside creamy mashed potatoes or fluffy couscous for a comforting touch. A fresh green salad with a light vinaigrette adds a refreshing contrast.
For a bit of crunch, garlic bread or crispy polenta fries work wonders. These sides enhance the dish's elegance and make your meal feel special.
How Do I Store and Reheat Leftovers Properly?
You've got delicious leftovers! Store them in an airtight container in the fridge for up to three days.
When you're ready to enjoy them again, reheat in a skillet over medium heat, adding a splash of water or chicken broth to keep the glaze smooth and the chicken juicy.
Stir occasionally until heated through, and savor the same delightful flavors as the first time.
It's easy, and your taste buds will thank you!
Can I Make the Balsamic Glaze in Advance?
Absolutely, you can make the balsamic glaze in advance!
This makes for a quick and convenient meal prep. Just simmer the balsamic vinegar and honey until it's thick and glossy, then let it cool completely.
Store it in an airtight container in the fridge for up to a week.
When you're ready to use it, gently reheat the glaze on the stove or microwave, stirring occasionally, until it reaches a pourable consistency.
Enjoy!