Air Fryer Roasted Chickpeas Recipe: A Healthy Snack
Imagine a world where your snack choices are efficient, satisfying, and beneficial. Air fryer roasted chickpeas offer a crunchy, protein-packed treat that's both nutritious and delicious, all with just a few simple steps. This straightforward process creates a versatile snack that aligns with healthy eating goals. Curious to explore this culinary convenience? Let's dive in.
Key Takeaways
- Air fryer roasted chickpeas are a healthy, high-protein, and fiber-rich snack option.
- Drain, rinse, and dry chickpeas before coating with oil and seasoning for crispiness.
- Roast chickpeas at 390°F in a single layer, shaking every 5 minutes for even cooking.
- Experiment with different seasonings like paprika, chili powder, or cinnamon for variety.
- Cool before storing in an airtight container and re-crisp if needed before serving.
Recipe
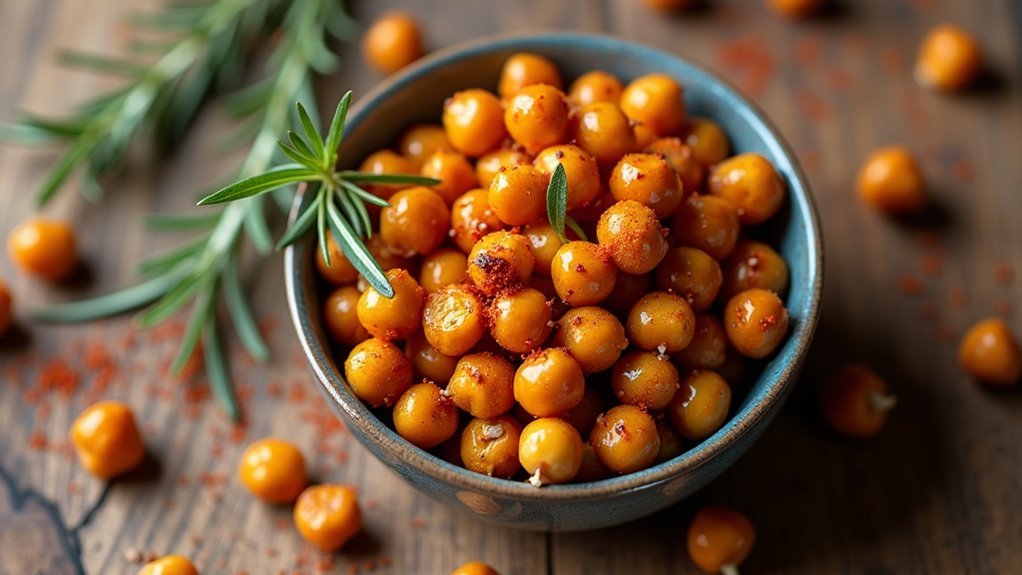
Air fryer roasted chickpeas are a delicious and healthy snack that can be enjoyed by anyone looking for a crunchy, flavorful treat. These chickpeas aren't only easy to make but also highly customizable with different seasonings to suit your taste preferences. The air fryer method reduces the need for excessive oil, making it a healthier alternative to traditional roasting methods. By achieving a perfect balance between a crispy exterior and a slightly tender interior, these roasted chickpeas serve as a wholesome snack option packed with protein and fiber.
To begin, it's essential to properly prepare the chickpeas for cooking. Start by draining and rinsing a can of chickpeas thoroughly, ensuring all excess liquid is removed. Next, pat them completely dry with paper towels to eliminate as much moisture as possible. Once dried, toss the chickpeas with a bit of olive oil and your choice of seasonings until they're evenly coated. This preparation step is crucial for achieving the desired crispiness and flavor in the final product.
Ingredients:
- 1 (15 oz) can chickpeas
- 1 tablespoon olive oil
- 1 teaspoon salt
- 1 teaspoon garlic powder
- 1 teaspoon paprika
For cooking, place the seasoned chickpeas in a single layer in the air fryer basket. Set the air fryer to 390°F and cook for 15-18 minutes. Be sure to shake the basket every 5 minutes to ensure even cooking and prevent burning. The chickpeas are ready when they turn golden brown and develop a crispy texture on the outside.
Once cooked, let them cool before serving or storing. For extra tips, remember that removing as much moisture as possible from the chickpeas is key to achieving maximum crispiness. If your chickpeas lose their crunch after storing, simply return them to the air fryer for 2-3 minutes at 390°F to restore their texture.
Don't be afraid to experiment with different seasoning combinations such as curry powder, chili powder, or ranch seasoning to keep this snack exciting and varied. Additionally, store the roasted chickpeas in an airtight container at room temperature for up to three days to maintain their freshness.
Cooking Steps
Start by draining and rinsing the chickpeas, making sure they're squeaky clean, then dry them thoroughly with paper towels to ensure maximum crunch.
Once they're dry, coat them generously with olive oil, salt, garlic powder, and paprika, mixing until each chickpea is perfectly seasoned.
Arrange them in a single layer in your air fryer basket, set the temperature to 390°F, and remember to shake the basket every 5 minutes to achieve that irresistible golden crispness.
Step 1. Drain and Rinse Chickpeas
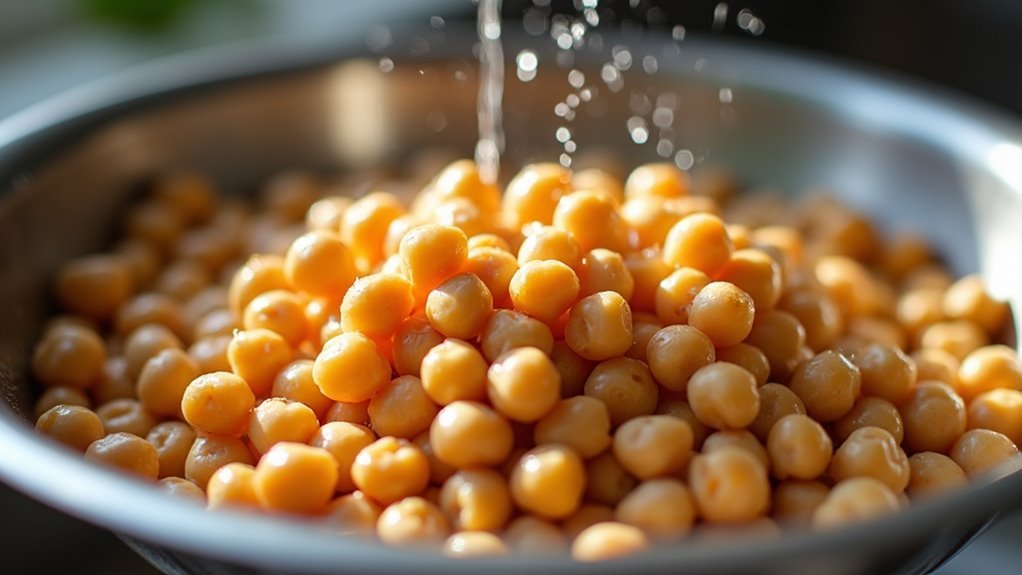
Begin by draining the can of chickpeas thoroughly to remove excess liquid. This step is crucial because it ensures your chickpeas will roast to crispy perfection!
Pour them into a colander, letting every last drop of the canning liquid escape. By doing this, you're already on your way to creating a deliciously crunchy snack.
Next, give those little gems a good rinse under cold water. This helps wash away any remaining residue or salt from the canning process, and keeps your chickpeas tasting fresh and pure.
As you rinse, gently shake the colander to ensure all the chickpeas are rinsed evenly. You're now ready to move on to the next step, setting the stage for an irresistible, healthy treat!
Step 2. Dry Chickpeas Thoroughly
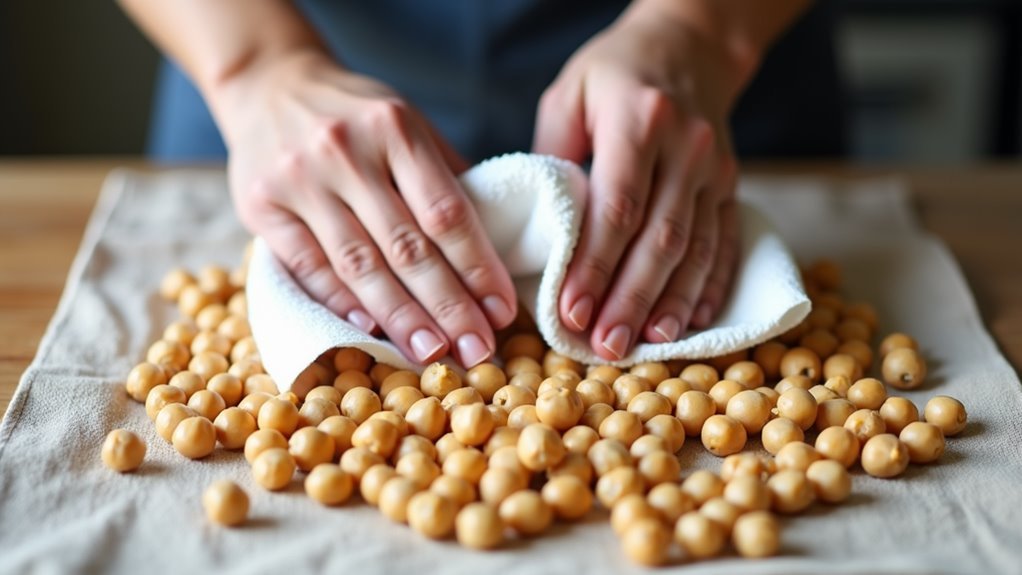
Once you've rinsed your chickpeas, it's important to dry them thoroughly.
Grab a few paper towels and spread them out on a clean surface. Pour the chickpeas onto the towels, then pat them gently to remove as much moisture as possible.
This step is crucial for achieving that crispy, crunchy texture you're aiming for. Excess moisture will make the chickpeas steam rather than roast, which means they won't crisp up properly.
Take your time with this step, ensuring each chickpea is dry. If they're still damp, they might end up soft instead of crunchy.
So, trust the process, and enjoy the anticipation of a delicious, healthy snack.
Once they're dry, you're one step closer to savoring your flavorful creation!
Step 3. Coat Chickpeas With Seasonings

Tossing the chickpeas with seasonings is where the magic happens. You've got your chickpeas dried and ready, now it's time to infuse them with flavor.
Grab a mixing bowl and pour in a tablespoon of olive oil, ensuring each chickpea gets a glossy coat. Add a teaspoon of salt, garlic powder, and paprika, creating a delicious blend.
Don't be shy—stir them up until every chickpea is covered in this tasty mix. The aroma of garlic and paprika will start to fill your kitchen, sparking anticipation.
This is your chance to get creative, so feel free to swap in your favorite spices. Maybe a dash of chili for heat or curry powder for an exotic twist? Your perfectly seasoned chickpeas await!
Step 4. Arrange in Air Fryer Basket

With the chickpeas perfectly seasoned, it's time to arrange them in your air fryer basket. Spread them out in a single layer, ensuring they're not overcrowded. This allows hot air to circulate freely, making each chickpea gloriously crispy.
Remember, space is key here—if necessary, cook them in batches for best results.
Place the basket in your air fryer, set to 390°F, and get ready to be amazed by the transformation of these humble legumes. The air fryer works its magic by giving the chickpeas a delightful crunch without the need for excessive oil.
You'll be creating a healthy snack that's both nutritious and irresistibly crunchy. Trust the process, and soon you'll have a batch of deliciously roasted chickpeas!
Step 5. Shake Basket Every 5 Minutes

As you start the cooking process, it's crucial to shake the air fryer basket every 5 minutes. This simple step ensures that your chickpeas roast to perfection, achieving that coveted golden-brown crunch.
By shaking the basket, you allow heat to distribute evenly, preventing any chickpeas from sticking or burning. You'll notice the delicious aroma filling your kitchen as they cook, building anticipation for that first satisfying bite.
Don't skip this step if you want evenly crisp chickpeas, each one bursting with flavor. The shaking also helps in redistributing the seasoning, ensuring every chickpea is perfectly coated.
Final Thoughts
One of the best aspects of making air fryer roasted chickpeas is their versatility and ease. You can whip up a batch in no time, experimenting with different seasonings to suit your taste.
Whether you prefer spicy, savory, or even a hint of sweetness, these crunchy snacks can adapt to your cravings. The air fryer's quick and efficient cooking process means you get delicious results without much hassle.
Imagine enjoying a guilt-free snack that's both nutritious and satisfying. You're not only treating your taste buds but also fueling your body with protein and fiber.
Frequently Asked Questions
Can I Use Dried Chickpeas Instead of Canned for This Recipe?
Absolutely, you can use dried chickpeas instead of canned! First, soak them overnight, then boil until tender.
This extra step adds a fresh, homemade touch to your snack. The difference between dried and canned chickpeas is like night and day; you'll appreciate the rich flavor and texture.
Once prepped, follow the same air fryer steps. Enjoy experimenting with this nutritious, delightful recipe that brings excitement to your snack time!
How Can I Make the Chickpeas Spicier?
To spice up your chickpeas, add a teaspoon of cayenne pepper or red chili flakes to the seasoning mix.
You can also try a dash of hot sauce or a sprinkle of smoked paprika for a deeper, fiery flavor.
Toss them well to ensure even coating.
As they air fry, the heat will intensify, giving you that perfect kick.
Experiment with different spices to find your ideal level of spiciness!
What Are Some Vegan Seasoning Options?
Spice up your culinary adventure with vibrant vegan seasonings!
Consider using smoked paprika for a rich, woodsy flavor that dances on your taste buds. Add a sprinkle of nutritional yeast for a cheesy twist without the dairy.
For a zesty kick, try lemon pepper, or go bold with a dash of cayenne.
These flavors not only elevate your dish but also ensure each bite bursts with mouthwatering excitement. Dive in and explore!
Can I Double the Recipe for a Larger Batch?
Absolutely, you can double the recipe for a larger batch!
Just make sure your air fryer can handle the extra chickpeas without overcrowding them. If needed, cook in batches to maintain that perfect crispiness.
Doubling means you get to enjoy twice the deliciousness and share this healthy snack with friends or family.
Keep experimenting with different seasonings, and you'll have an irresistible variety to satisfy everyone's taste.
Enjoy your tasty culinary adventure!
Are Air Fryer Roasted Chickpeas Suitable for Meal Prep?
Absolutely, air fryer roasted chickpeas are perfect for meal prep! They stay fresh in an airtight container for up to three days, making them a convenient, healthy snack option.
You can easily prepare a large batch ahead of time, ensuring you always have a crunchy, tasty treat on hand. Plus, they're so versatile, you can experiment with different seasonings to suit your taste.
Get ready to enjoy a delicious, protein-packed snack anytime!