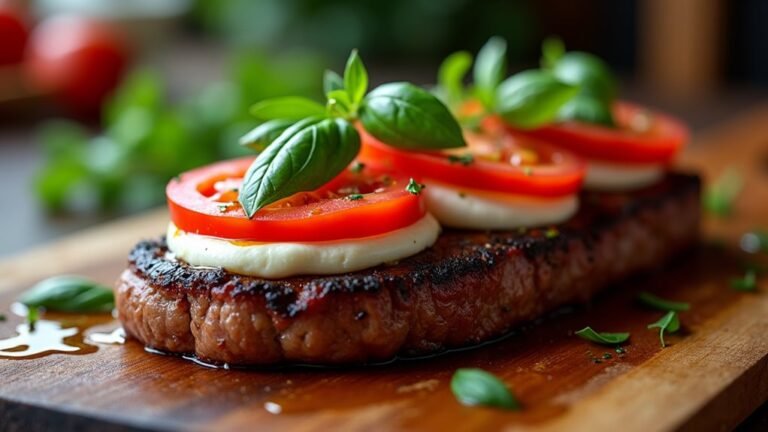
Beef Tenderloin Dinner Recipe: Elegant and Juicy
Hosting a dinner party with beef tenderloin as the centerpiece is like orchestrating a symphony. The elegance of this dish requires keen attention to detail, starting with a generous seasoning of kosher salt. Achieving medium-rare perfection hinges on mastering the searing and roasting process. Want to know the nuances that make this dish a culinary masterpiece? Let's delve into each step to elevate your skills.
Key Takeaways
- Beef tenderloin is renowned for its tenderness and rich, buttery flavor, making it ideal for special occasions.
- Use simple ingredients: beef tenderloin, olive oil, kosher salt, black pepper, and garlic to enhance natural flavors.
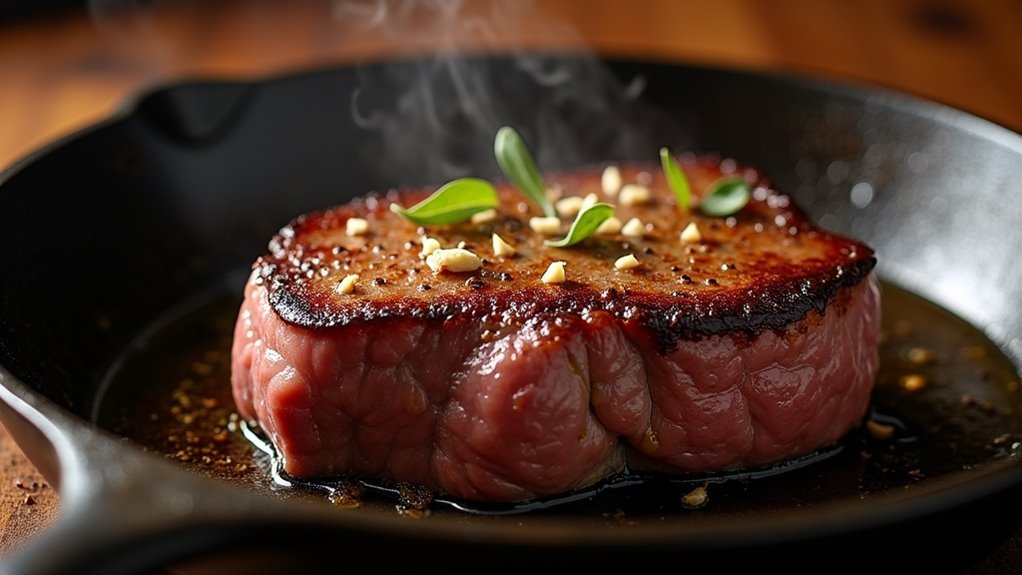
- Sear the tenderloin in a hot skillet to achieve a caramelized crust that locks in juices.
- Roast in a preheated oven at 425°F until the internal temperature reaches 135°F for medium-rare doneness.
- Allow the tenderloin to rest for 10-15 minutes before slicing to ensure juicy and flavorful servings.
Recipe
Beef tenderloin, known for its exquisite tenderness and rich, buttery flavor, is a premium cut perfect for special occasions and celebratory dinners. This simple five-ingredient recipe focuses on enhancing the natural flavors of the tenderloin without overwhelming its delicate taste profile.
The key to achieving a perfectly cooked beef tenderloin lies in proper seasoning, searing, and roasting techniques, ensuring a caramelized crust and a juicy, pink center.
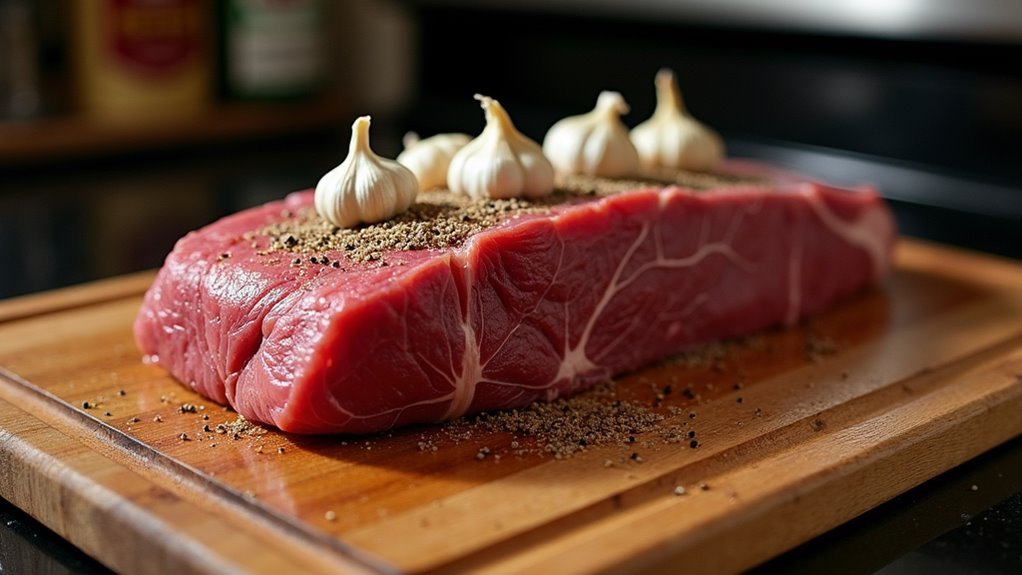
Begin by removing the tenderloin from refrigeration about one hour before cooking to bring it to room temperature. Preheat your oven to 425°F. Once the tenderloin is at room temperature, rub it thoroughly with olive oil and season generously with kosher salt and black pepper, pressing the seasonings into the surface. Place the crushed garlic on top to infuse a subtle aromatic flavor.
Ingredients:
- 2-pound beef tenderloin
- 3 tablespoons olive oil
- 2 tablespoons kosher salt
- 2 tablespoons black pepper
- 4 cloves garlic, crushed
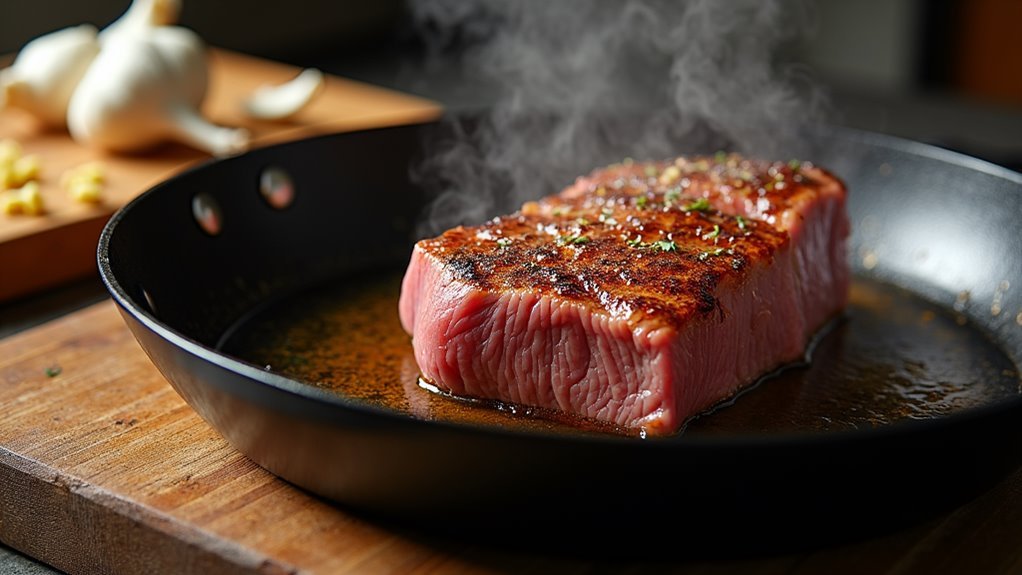
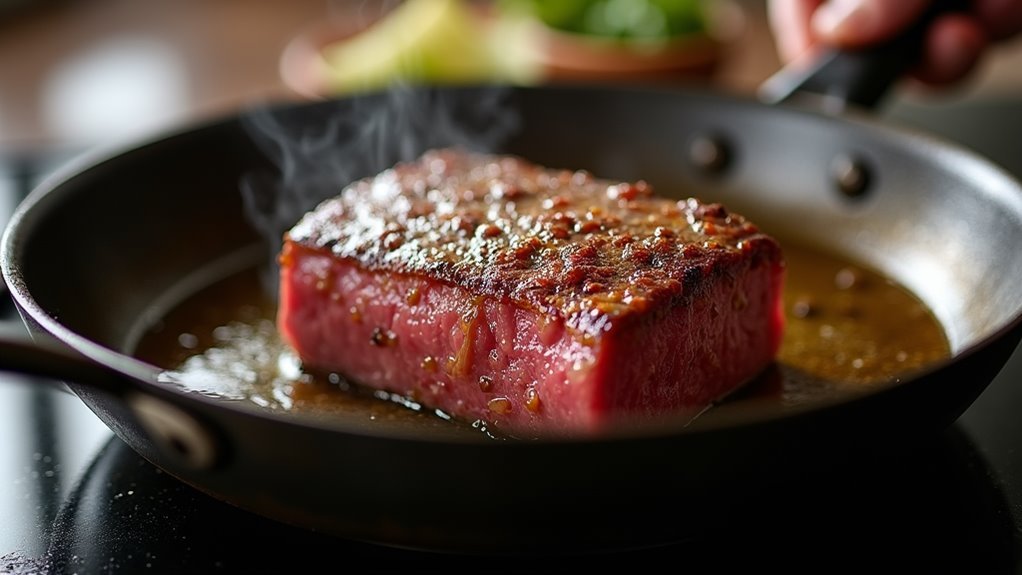
To cook the tenderloin, first sear it in a hot skillet on all sides until a beautiful brown crust forms. This process locks in the juices and adds flavor.
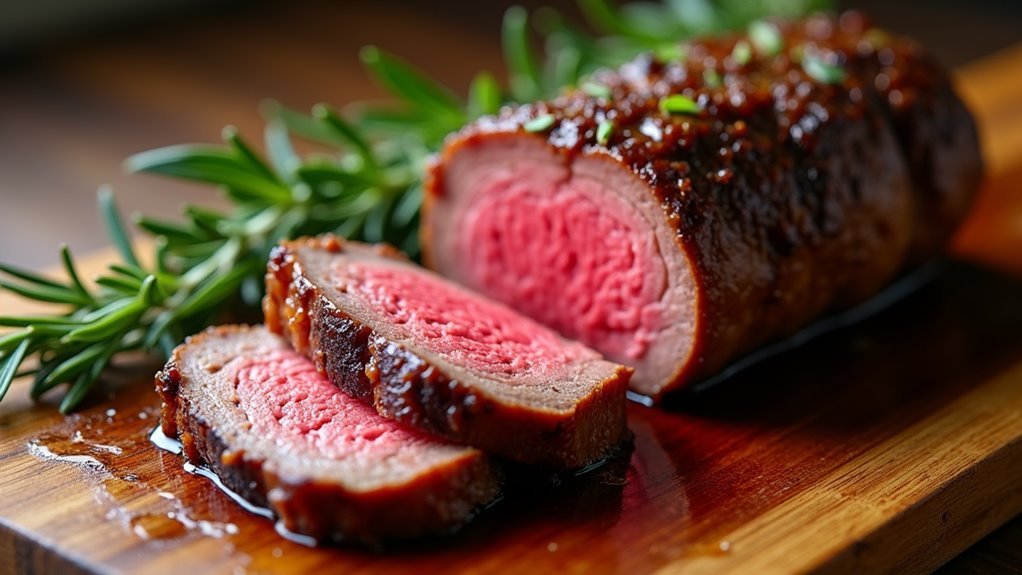
Then transfer the tenderloin to the preheated oven and roast for 20-25 minutes for medium-rare, or until the internal temperature reaches 135°F. After roasting, let the tenderloin rest for 10-15 minutes before slicing to allow the juices to redistribute throughout the meat, ensuring every bite is juicy and flavorful.
For best results, always use a meat thermometer to check the doneness of the beef tenderloin to avoid overcooking, as this cut can quickly become dry.
Purchase the meat from a reputable butcher and opt for a center-cut tenderloin for the most uniform cooking. Remember, the quality of the meat is paramount, so choosing a well-marbled cut will enhance the flavor and texture of the final dish.
Cooking Steps
Get ready to create a mouthwatering beef tenderloin dinner that will impress everyone at the table!
Start by preheating your oven and preparing the tenderloin with a generous seasoning of salt, ensuring you press those flavors right into the meat.
Sear the tenderloin on all sides for a beautiful crust, then roast it to medium-rare perfection, letting it rest before slicing to lock in those juicy flavors.
Step 1. Preheat Oven and Prepare Tenderloin
Before diving into cooking, ensure you preheat your oven to 425°F to create the perfect environment for roasting. This step is crucial for achieving that mouthwatering caramelized crust on your beef tenderloin.
As your oven warms, take the tenderloin out of the fridge, allowing it to reach room temperature. This makes it cook more evenly, ensuring a juicy interior.
Pat the tenderloin dry with paper towels to remove excess moisture, which helps it sear beautifully. Drizzle a generous amount of olive oil over the meat, rubbing it in with your hands. This not only adds flavor but also aids in creating that irresistible crust.
With your tenderloin prepped and your oven ready, you're set to embark on a culinary adventure!
Step 2. Season Generously With Salt
Your tenderloin's flavor hinges on the foundational step of seasoning generously with salt. This simple yet crucial action elevates the meat's natural flavors, ensuring that each bite is a savory delight.
Start by rubbing olive oil over the tenderloin, which helps the salt adhere beautifully to the surface. With excitement, sprinkle kosher salt evenly, covering every inch. Don't be shy; use a generous hand!
The salt will penetrate the meat, enhancing its rich taste and creating a delightful crust as it cooks. The combination of salt and olive oil not only boosts flavor but also prepares the tenderloin for the next delicious step.
Embrace this moment, as you're setting the stage for a truly elegant and juicy dinner masterpiece.
Step 3. Sear All Sides Thoroughly
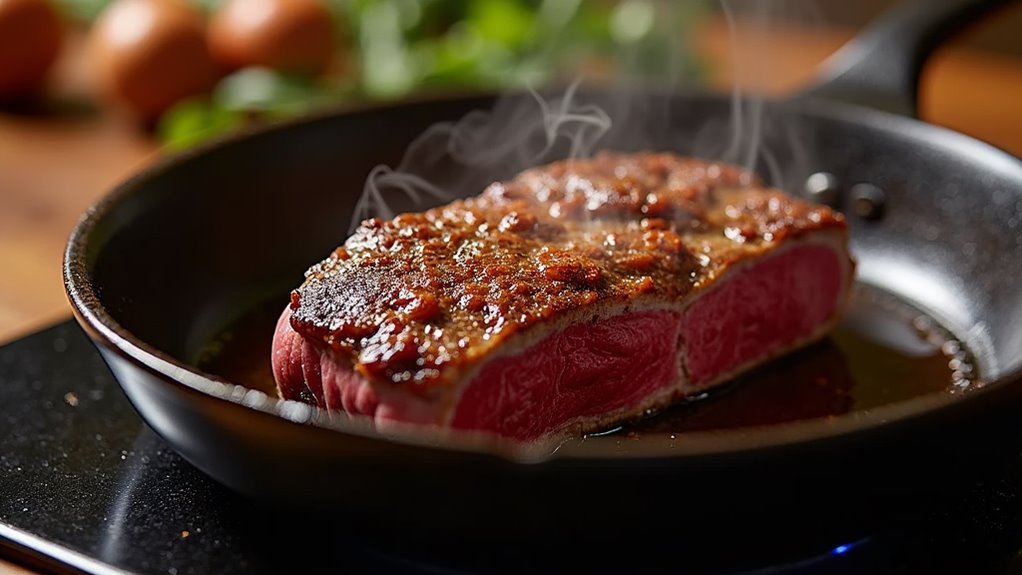
With anticipation building, it's time to sear the beef tenderloin, a crucial step that locks in juices and enhances flavor.
Heat a large skillet over medium-high heat until it's almost smoking. Add a bit of olive oil, letting it shimmer before you gently place the tenderloin in the pan.
Listen for that satisfying sizzle as the meat hits the hot surface. Sear each side for about 3-4 minutes until it develops a rich, golden-brown crust.
This caramelization is key, as it deepens the flavor and creates a beautiful exterior. Use tongs to turn the meat carefully, ensuring every side gets evenly browned.
Don't rush this step—it's what transforms your beef tenderloin into a show-stopping centerpiece.
Step 4. Roast Until Medium-Rare Perfection
Achieving perfection in roasting requires attention to detail and precision.
You've already seared the beef tenderloin, so it's time to move to the oven. Preheat it to 425°F, ensuring the temperature is just right for that golden, caramelized crust and a juicy, pink center.
Once in the oven, roast the tenderloin for 20 to 25 minutes. You want to aim for an internal temperature of 135°F for medium-rare perfection. Use a meat thermometer to check, and don't rely on guesswork—this step is crucial!
The transformation happening in your oven is magical; the meat's natural flavors are intensifying. You'll smell the savory aroma filling your kitchen, promising an unforgettable dining experience.
Stay attentive, and your patience will soon be rewarded.
Step 5. Rest Before Slicing
After the tenderloin's journey from fridge to oven, it deserves a moment of rest before slicing.
This pause is crucial! As you let the meat sit for 10-15 minutes, juices that migrated to the center during cooking redistribute evenly throughout the tenderloin.
When you slice too soon, all those flavorful juices will spill out, leaving the meat dry.
Resting ensures each slice is juicy and delicious.
Final Thoughts
Creating the perfect beef tenderloin dinner is a rewarding experience that impresses any guest.
You've learned how to select high-quality meat, season it simply yet effectively, and cook it to mouthwatering perfection. This recipe allows the tenderloin's natural flavors to shine, and with a juicy, pink center and a caramelized crust, you'll have a dish that's both elegant and satisfying.
Remember, the key is to let the meat rest before slicing to lock in those delicious juices.
As you serve this delectable meal, you're not just offering food; you're creating an experience. Your guests will savor each bite, and you'll feel the joy of having crafted something truly special.
Frequently Asked Questions
Can I Use a Different Type of Oil Instead of Olive Oil?
Absolutely, you can swap olive oil with other oils like canola, grapeseed, or avocado.
Each alternative brings its unique flair while maintaining that delicious, juicy result you're aiming for.
Canola oil is neutral, grapeseed has a mild flavor, and avocado oil offers a buttery touch.
Just ensure the oil you choose has a high smoke point, so it sears your beef tenderloin beautifully.
Dive into this cooking adventure with confidence!
How Do I Store Leftover Beef Tenderloin?
You've got leftover beef tenderloin? Lucky you!
To store it, let it cool completely, then wrap it tightly in plastic wrap or aluminum foil.
Pop it in the fridge, where it'll stay fresh for up to three days.
For longer storage, slice the tenderloin, place it in an airtight container, and freeze it.
When you're ready to enjoy it again, reheat gently to keep it juicy and delicious.
Enjoy your culinary treasure!
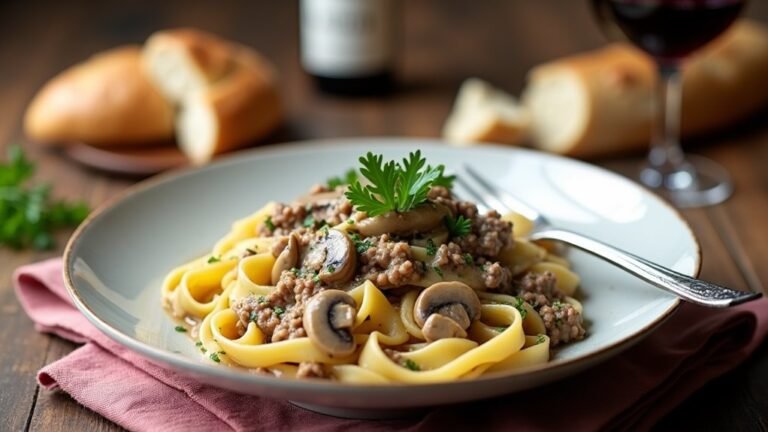
What Wine Pairs Best With Beef Tenderloin?
Imagine wine as the perfect dance partner for your beef tenderloin, swirling gracefully to complement its luxurious flavors.
You'll want a bold red like a Cabernet Sauvignon, which enhances the tenderloin's richness with its full-bodied character.
Alternatively, a Pinot Noir offers a lighter, delicate touch, allowing the beef's buttery taste to shine.
Explore these wine pairings, and elevate your dining experience to a symphony of taste and elegance.
Enjoy every bite and sip!
Can I Prepare the Beef Tenderloin in Advance?
You can absolutely prepare beef tenderloin in advance to streamline your cooking!
Season the meat with olive oil, salt, pepper, and garlic, then wrap it tightly and refrigerate.
On the day you're serving, let it come to room temperature for about an hour before cooking. This technique helps the meat cook evenly.
Preparing ahead not only saves time but also enhances the flavors, making your dinner both stress-free and delicious!
How Do I Adjust the Cooking Time for a Larger Tenderloin?
To adjust cooking time for a larger tenderloin, you'll need to extend the roasting time.
For every additional pound, add about 10-15 minutes to the oven time at 425°F.
Ensure the internal temperature reaches 135°F for medium-rare. Use a meat thermometer for accuracy.
This method keeps the tenderloin juicy and tender.
Remember, patience is key, and you'll be rewarded with a beautifully cooked centerpiece for your meal.
Enjoy the process!