Classic Tuna Melt Recipe: A Cheesy Delight
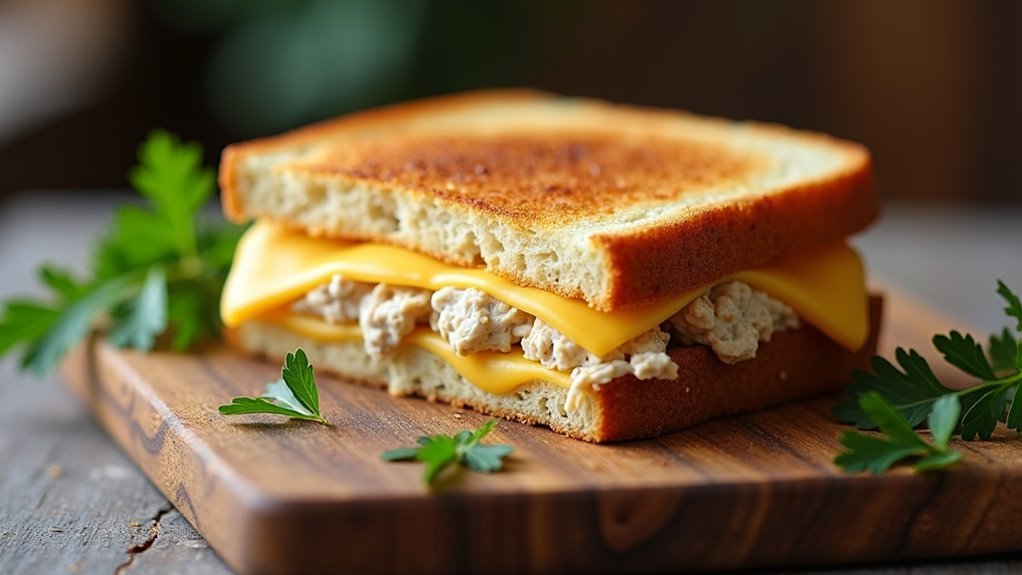
Discover the classic tuna melt, an iconic dish blending creamy tuna salad with melted cheddar between crispy, buttery bread. Born in the 1960s, this comforting meal remains a favorite for its golden crust and savory filling. What elevates this cheesy delight? Explore the balance of ingredients and techniques for a perfect golden-brown finish.
Key Takeaways
- Combine canned tuna with mayonnaise for a creamy, smooth filling.
- Use sliced bread and cheddar cheese for the classic tuna melt foundation.
- Butter bread before cooking to achieve a crispy, golden crust.
- Cook the sandwich on a skillet until bread is golden and cheese melts.
- Customize with extras like tomato slices or hot sauce for added flavor.
Recipe
The tuna melt is a delightful sandwich that combines the flavors of seasoned tuna with the creamy richness of melted cheese. It's a classic comfort food that has been popular since the 1960s, gracing diner menus across America.
It's simple to prepare and requires just a few basic ingredients, making it an ideal choice for a quick and satisfying meal. The combination of tuna, mayonnaise, and melted cheddar cheese nestled between slices of crispy, buttery bread creates a comforting and delicious experience.
The key to an excellent tuna melt is achieving a balance between a crispy exterior and a creamy interior. This is accomplished by properly preparing the tuna mixture and ensuring the cheese melts completely while the bread crisps to a golden brown.
Using good quality bread and cheese will elevate the flavors and make the sandwich even more enjoyable.
Ingredients:
- Canned tuna (5 oz)
- Mayonnaise (2 tablespoons)
- Sliced bread (2 pieces)
- Cheddar cheese slices (2 slices)
- Butter (1 tablespoon)
To make the tuna melt, begin by draining the canned tuna and mixing it with mayonnaise in a bowl until well combined.
Butter one side of each bread slice. Spread the tuna mixture on the non-buttered side of one slice and top it with cheddar cheese slices. Cover with the second slice of bread, buttered side facing up.
Heat a skillet over medium heat and cook the sandwich for about 3-4 minutes on each side until the bread is golden brown and the cheese melts completely.
For best results, ensure the butter is at room temperature for easy spreading. Press down gently on the sandwich while cooking to ensure even heating and melting.
The bread should be thick enough to hold the filling without being too thick to prevent proper melting. If the bread starts to brown too quickly, reduce the heat to allow the cheese more time to melt.
This technique will help you achieve the perfect balance of textures and flavors in your tuna melt.
Cooking Steps
Get ready to make the perfect tuna melt by starting with the essentials; drain your tuna, then mix it with mayonnaise for a creamy filling that's simply irresistible.
Next, butter your bread slices evenly to ensure that delightful golden crunch, and assemble your sandwich with the cheese nestled against the tuna mixture.
Finally, place your creation in a heated skillet, cooking it until both sides turn golden brown, gently pressing down to help the cheese melt into gooey perfection.
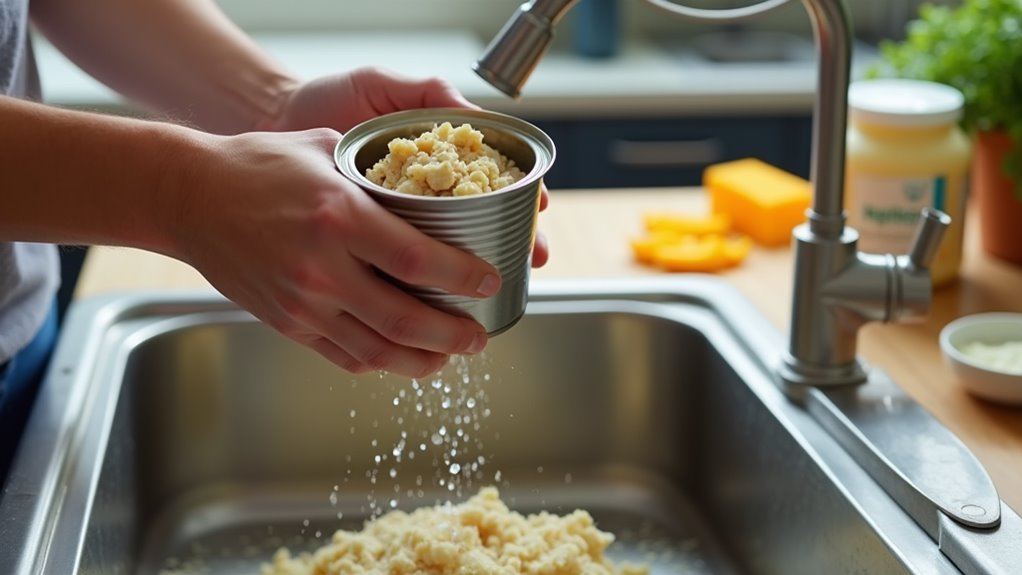
Step 1. Drain and Mix Tuna
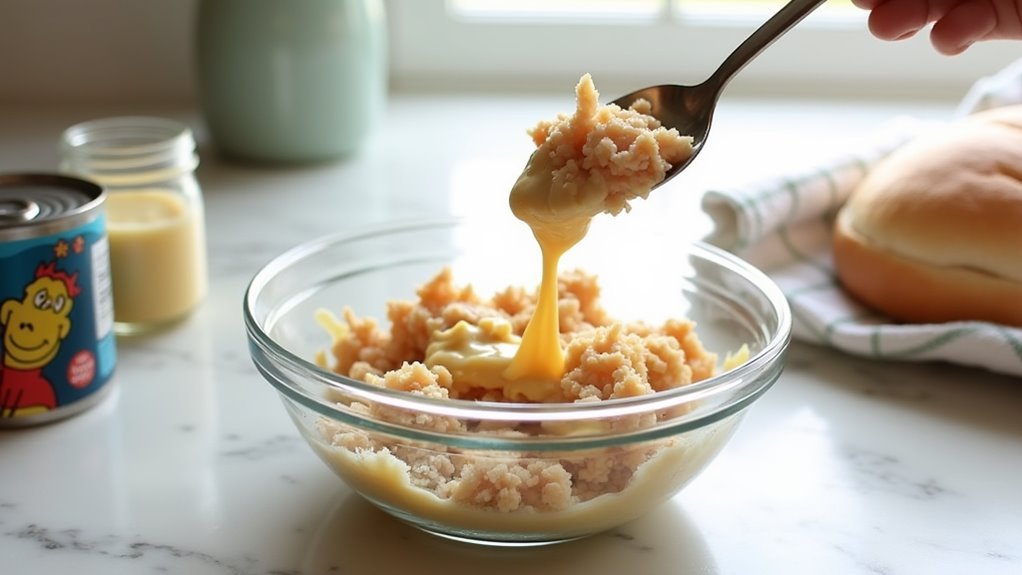
Before you begin assembling your tuna melt, focus on preparing the tuna mixture. Start by carefully draining a 5-ounce can of tuna to remove excess liquid. This step is crucial for a creamy yet firm filling that won't make your sandwich soggy.
Once drained, transfer the tuna to a mixing bowl. Add two tablespoons of mayonnaise, which brings richness and binds the tuna together. Using a fork, mix the tuna and mayo thoroughly, breaking up any large chunks.
You want a smooth, even consistency that will spread easily on your bread. This creamy mixture is the heart of your tuna melt, providing that savory flavor we all love.
Now, you're ready to move on to the next delicious step!
Step 2. Butter Bread Slices Evenly
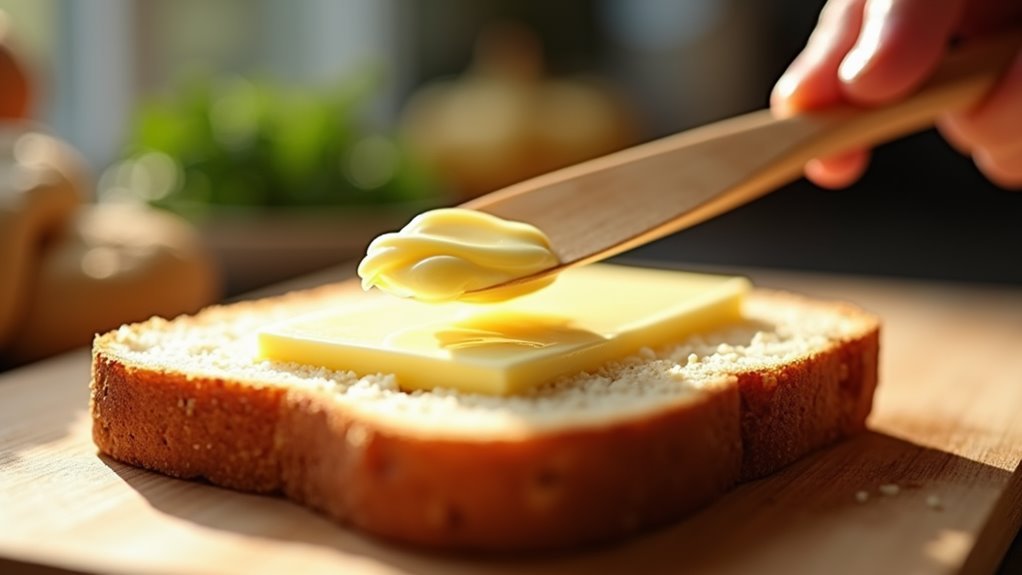
Butter, a simple yet crucial ingredient, ensures your tuna melt has that perfect golden crust. Start by letting the butter reach room temperature, making it easier to spread evenly.
Using a butter knife or a spatula, generously coat one side of each bread slice with butter. Make sure the butter covers every corner and edge, creating an even layer that'll crisp up beautifully in the pan.
This step is essential for achieving that satisfying crunch with every bite. As you spread the butter, imagine the delightful transformation from soft to crispy as it cooks.
With just a little care, you'll elevate your tuna melt from good to spectacular. This simple step sets the stage for a delicious, cheesy delight.
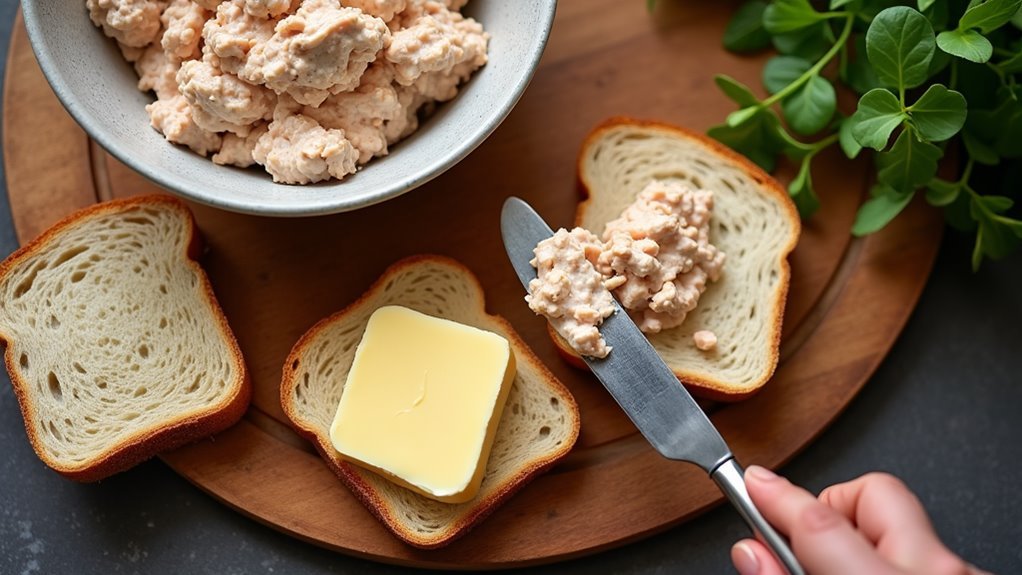
Step 3. Assemble Sandwich With Cheese

To start assembling your tuna melt, lay one slice of bread on a clean work surface, buttered side down.
Spread the creamy tuna mixture generously over the non-buttered side, making sure to cover the entire surface. This ensures every bite is packed with flavor.
Now, place two slices of cheddar cheese on top of the tuna layer. The cheese will melt beautifully, creating that irresistible gooey texture.
Next, carefully position the second slice of bread on top, buttered side up, completing your sandwich.
This simple step is where the magic begins. As you press it together lightly, you can almost taste the delicious blend of flavors and textures.
You're now ready to move on to the next delightful cooking step!
Step 4. Cook Sandwich Until Golden
Once your sandwich is assembled, it's time to cook it to perfection.
Grab your skillet and set it over medium heat. Feel that anticipation as the buttered bread hits the warm surface, sizzling softly.
The key is patience; let the bread toast until it's beautifully golden. This takes about 3-4 minutes on each side. Your kitchen will fill with the tantalizing aroma of melting cheese and toasted bread.
As you flip the sandwich, watch for that exquisite golden hue. It's the perfect sign of a well-cooked tuna melt, ensuring a crisp exterior and gooey interior.
Step 5. Press Sandwich Gently While Cooking
As your tuna melt sizzles in the skillet, gently press down on the sandwich with a spatula. This simple step ensures even contact between the bread and the hot pan, helping to achieve that perfect golden-brown crust.
You'll love how the cheese melts more thoroughly, blending beautifully with the savory tuna mixture. By pressing gently, you also prevent the sandwich from falling apart, creating a satisfying bite every time.
Don't rush this process; take your time to savor the enticing aroma wafting through your kitchen. This moment is all about balance—press enough to crisp the bread, but not so much that the filling spills.
With each gentle press, you're crafting a delightful, cheesy masterpiece that's sure to impress!
Final Thoughts
Satisfaction is guaranteed when you bite into a perfectly crafted tuna melt. This cheesy delight offers a simple yet flavorful experience that you can't resist.
As you savor each bite, you'll appreciate the balance of crispy bread and gooey cheese mingling with the creamy tuna filling. It's an easy recipe that transforms basic ingredients into a comforting meal, perfect for lunch or a quick dinner.
Don't hesitate to personalize your tuna melt by adding a slice of tomato or a dash of hot sauce for an extra kick. The joy of cooking lies in making each dish uniquely yours.
Frequently Asked Questions
Can I Use Different Types of Cheese for a Tuna Melt?
Oh, you're wondering if you can use different cheeses for a tuna melt? Of course, you can!
Though cheddar is the classic go-to, why not embrace your inner culinary rebel and try Swiss, provolone, or even pepper jack?
Each cheese will add its unique twist, making your tuna melt a delightful surprise every time.
Is It Possible to Make a Tuna Melt Without Mayonnaise?
Absolutely, you can make a tuna melt without mayonnaise!
Swap it out for Greek yogurt or mashed avocado for a creamy, delicious twist. These alternatives still bind the tuna together and add a unique flavor.
Simply mix the substitute with your tuna, pile it onto your bread, and layer on the cheese. Grill until golden and melty.
This variation offers a healthier, yet equally satisfying, version of the classic comfort food. Enjoy every bite!
What Are Some Alternative Bread Options for a Tuna Melt?
Oh, you're thinking you need plain old white bread for a tuna melt? How quaint!
Try sourdough for a tangy twist or rye for a hearty flavor.
If you want a lighter option, go for whole-grain or multigrain bread, loaded with texture and nutrients.
For a crisp bite, consider ciabatta or focaccia.
Each type adds its unique charm, transforming your tuna melt into a gourmet delight, bursting with character and taste.
How Can I Make a Tuna Melt Gluten-Free?
You can make a tuna melt gluten-free by using your favorite gluten-free bread.
There are many delicious options available, like gluten-free sourdough or multigrain, that pair beautifully with the creamy tuna and melted cheese.
Don't forget, you can also try gluten-free wraps or tortillas for a fun twist!
Just prepare the sandwich as usual, making sure to enjoy that satisfying crunch and gooey cheese without any gluten worries.
Enjoy your meal!
Can I Add Vegetables to a Tuna Melt for Extra Flavor?
Absolutely, you can add vegetables to your tuna melt!
Imagine the burst of flavor when you add thinly sliced tomatoes, crunchy bell peppers, or even a handful of spinach nestled between the creamy tuna and melted cheese.
It's a simple twist, but it elevates the classic sandwich to a whole new level.
Just ensure your veggies are sliced thinly to cook evenly.
Trust me, this colorful addition will make your meal truly delightful!