Garlic Herb Chicken Recipe: A Flavorful Favorite
Imagine preparing Garlic Herb Chicken like the one at your last family gathering, where its savory aroma filled the room. Creating such a flavorful dish doesn't require hours of intricate cooking.
This recipe simplifies the process, letting the natural flavors of garlic and herbs enhance the chicken. With just a few ingredients and easy steps, you can impress without the fuss.
Curious about how to bring this favorite to your table?
Key Takeaways
- Season chicken with garlic, herbs, and salt for enhanced flavor.
- Sauté garlic in olive oil before adding chicken for aromatic depth.
- Cook chicken 6-7 minutes per side until golden brown.
- Rest cooked chicken for 5 minutes to retain juiciness.
- Versatile dish pairs with salads, grains, or roasted vegetables.
Recipe
Garlic herb chicken is a delightful dish that brings together the robust flavors of garlic with the earthy notes of mixed herbs. This dish is perfect for both weeknight dinners and special occasions, offering a delicious and sophisticated meal with minimal effort. The combination of garlic and herbs elevates the chicken, making it a standout dish that's sure to please any palate.
With just a handful of ingredients, you can create a meal that feels both comforting and elegant. The preparation of garlic herb chicken is straightforward, allowing the natural flavors of the ingredients to shine. The simplicity of this recipe means that you can have a restaurant-quality dish on your table in no time.
The key is in the balance of flavors, with the garlic providing a pungent kick and the herbs adding a fragrant, savory layer. This dish pairs wonderfully with a variety of sides, making it a versatile choice for any meal.
Ingredients:
- 4 chicken breasts
- 6 cloves garlic
- 2 tablespoons olive oil
- 2 tablespoons mixed dried herbs (thyme, rosemary, and oregano)
- 1 teaspoon salt
To prepare garlic herb chicken, start by seasoning the chicken breasts with salt and the dried herbs on both sides. Heat olive oil in a large skillet over medium-high heat. Add the minced garlic to the pan and sauté for about 30 seconds until it becomes fragrant.
Place the seasoned chicken breasts in the skillet and cook them for 6-7 minutes on each side until they're golden brown and cooked through. Once cooked, let the chicken rest for about 5 minutes before serving to allow the juices to redistribute throughout the meat.
For the best results, bring the chicken to room temperature about 30 minutes before cooking to ensure even cooking. If the chicken breasts are thick, consider butterflying them or pounding them to an even thickness for more uniform cooking.
Use freshly minced garlic for the most intense flavor, avoiding pre-minced varieties. Store any leftovers in an airtight container in the refrigerator for up to three days, ensuring you have a delicious meal ready for the next day.
Cooking Steps
Get ready to create a delicious meal by starting with seasoning your chicken breasts generously with salt, ensuring every bite bursts with flavor.
Heat up some olive oil in your skillet until it's shimmering, then toss in the minced garlic, letting it sizzle for just a brief moment to release its aroma.
Lay those seasoned chicken breasts in the pan, cooking each side until they're beautifully golden brown, and don't forget to let them rest for a few minutes before serving, so the juices settle perfectly within the meat.
Step 1. Season Chicken With Salt
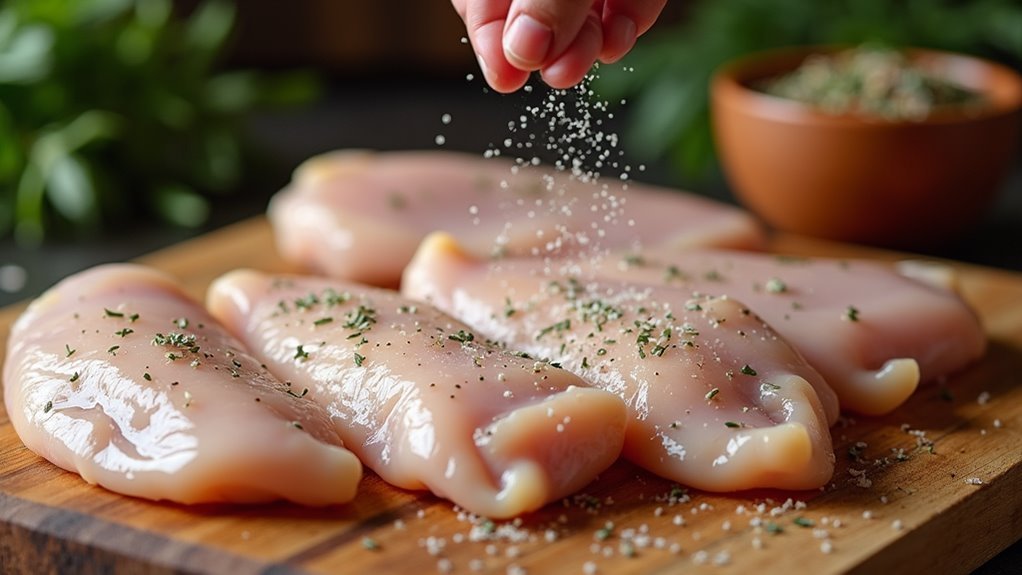
To start, take the salt and evenly sprinkle it over both sides of the chicken breasts. This simple step is crucial for enhancing the flavor, so don't skimp on it!
Make sure each piece is well-coated, as the salt will help tenderize the meat and bring out its natural juiciness. As you season, feel the smooth texture of the chicken, and envision the delightful flavors that will soon fill your kitchen.
This step lays the foundation for a tasty dish, making each bite more savory and satisfying. It's amazing how such a small ingredient can make a big difference in your meal.
Enjoy the process, and get ready to create a dish that's sure to impress and delight!
Step 2. Heat Olive Oil in Skillet
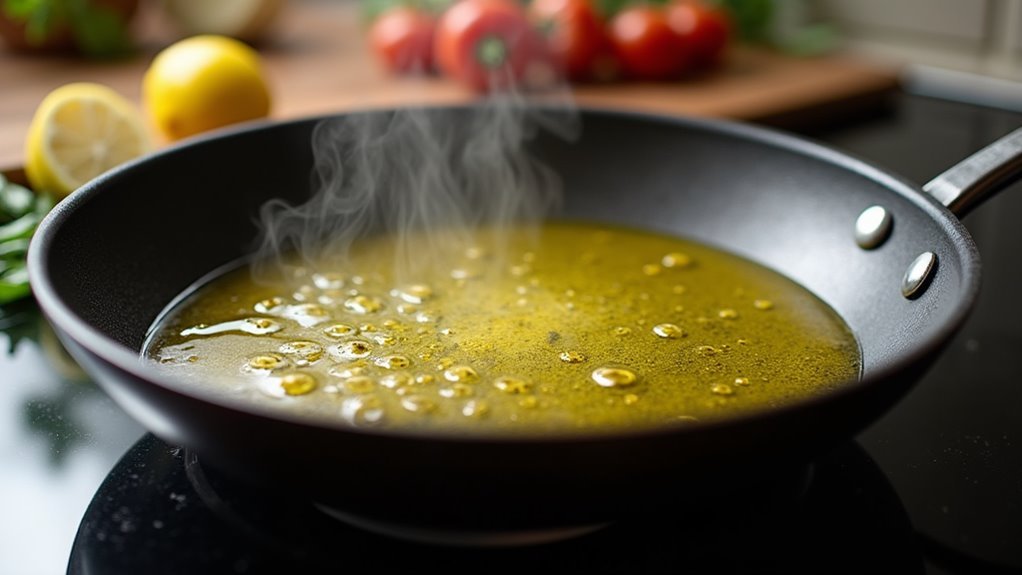
Warm up your kitchen by pouring olive oil into a large skillet and setting it over medium-high heat.
Feel the anticipation as the oil shimmers and dances in the pan, signaling it's ready to cook your delicious garlic herb chicken. The olive oil not only prevents sticking but also infuses the chicken with rich, savory flavor.
Make sure your skillet is large enough to accommodate the chicken without overcrowding, ensuring each piece cooks evenly and achieves that perfect golden-brown crust.
The sizzle of the oil is music to your ears, a sign that you're on your way to creating a mouthwatering dish.
Get ready to enjoy the enticing aroma that will soon fill your kitchen, making your cooking adventure truly delightful.
Step 3. Add Garlic, Cook Briefly
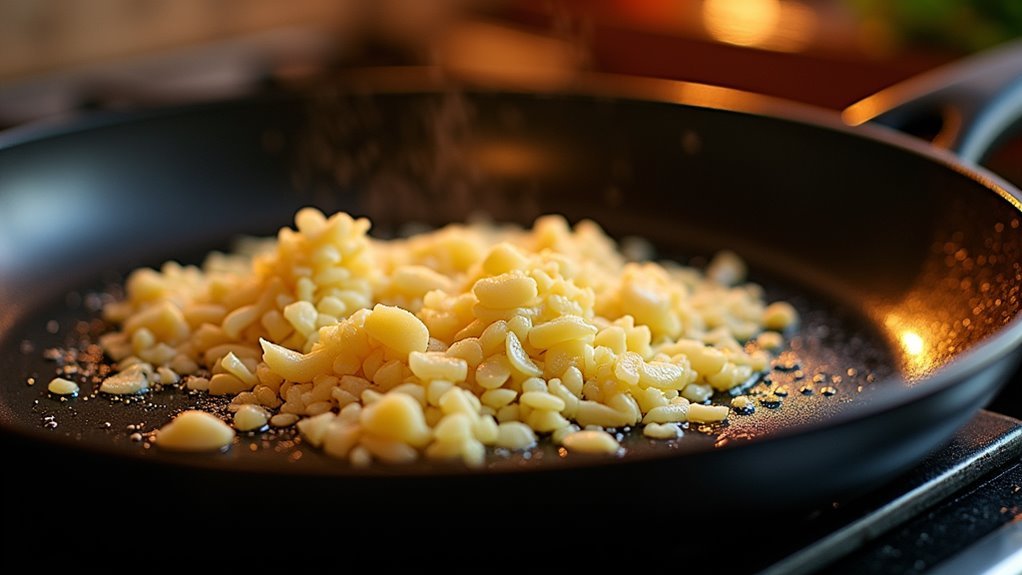
As the olive oil shimmers invitingly in your skillet, it's time to introduce the minced garlic. Toss it in gently, letting the rich aroma fill your kitchen, instantly elevating the atmosphere.
This is your moment to create magic, so embrace it! Stir the garlic for just about 30 seconds. You want it to become fragrant but not burn, as burnt garlic can turn bitter.
Watch closely as it sizzles and dances in the pan, releasing its bold essence. This brief cooking step ensures that the garlic retains its delightful flavor, setting the stage for the chicken to soak up all that goodness.
It's a simple yet crucial step, bringing out the best in your garlic herb chicken.
Step 4. Brown Chicken Until Golden
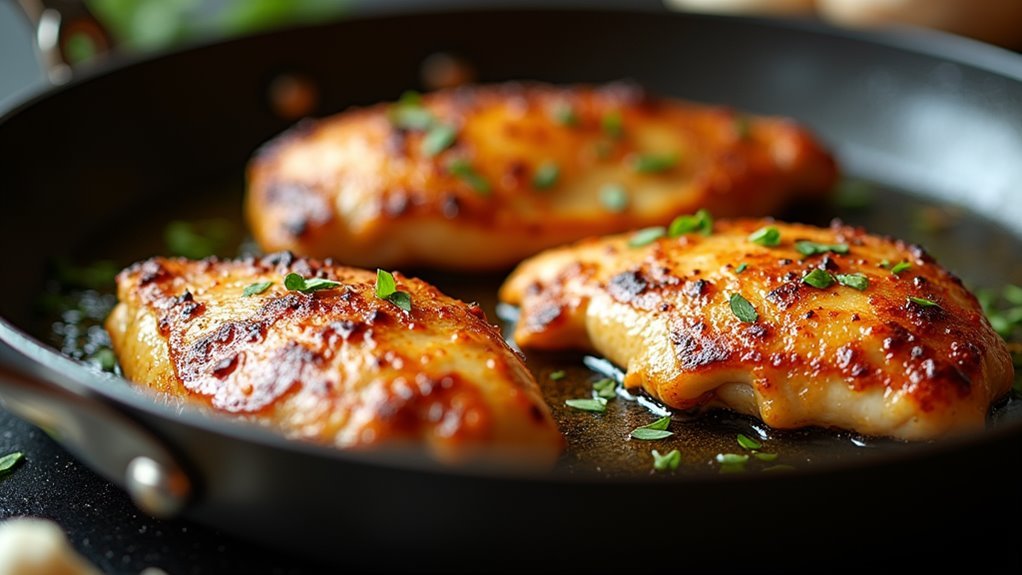
Once your garlic is perfectly fragrant, it's time to lay the seasoned chicken breasts in the skillet. Feel the excitement as the chicken sizzles upon contact with the hot oil, releasing a mouthwatering aroma that fills your kitchen.
Keep the heat steady at medium-high to achieve that beautiful golden crust, crucial for locking in juices. Cook each side for 6-7 minutes, making sure not to disturb the chicken too much; let it develop that rich golden-brown color.
As you flip the chicken, you'll notice the edges turning a delightful shade of brown, signaling that perfection is near. This step is where flavor and texture meet, creating a masterpiece of tender, juicy chicken that's ready to impress family and friends.
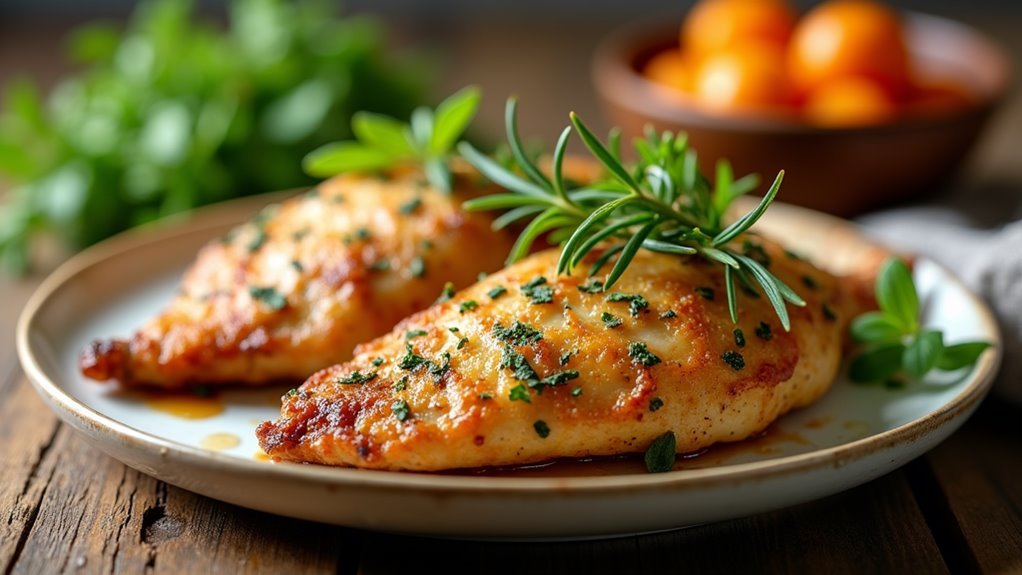
Step 5. Rest Chicken Before Serving

Patience is key when it comes to letting your chicken rest before serving. After cooking your garlic herb chicken to golden perfection, resist the urge to cut into it right away. Resting allows the juices to redistribute throughout the meat, making each bite tender and flavorful.
Just five minutes of waiting can transform your dish from good to great.
Place your cooked chicken on a plate, tent it loosely with foil, and let it sit. This simple step ensures your chicken stays juicy and moist.
You've worked hard to create this delicious meal, so take a moment to savor the anticipation. While you wait, prepare your favorite side dishes, and get ready to enjoy a truly delightful dining experience.
Final Thoughts
For a meal that's both easy to prepare and full of flavor, garlic herb chicken is a go-to choice.
You'll love how this dish elevates simple ingredients into something extraordinary. The aromatic blend of garlic and herbs creates a savory and satisfying experience that's perfect for any occasion, whether it's a cozy family dinner or a gathering with friends.
When you make garlic herb chicken, you're not just cooking a meal; you're crafting a delightful experience that's sure to impress.
The recipe's simplicity allows you to enjoy cooking without feeling overwhelmed. Plus, the versatility means you can pair it with your favorite sides.
Frequently Asked Questions
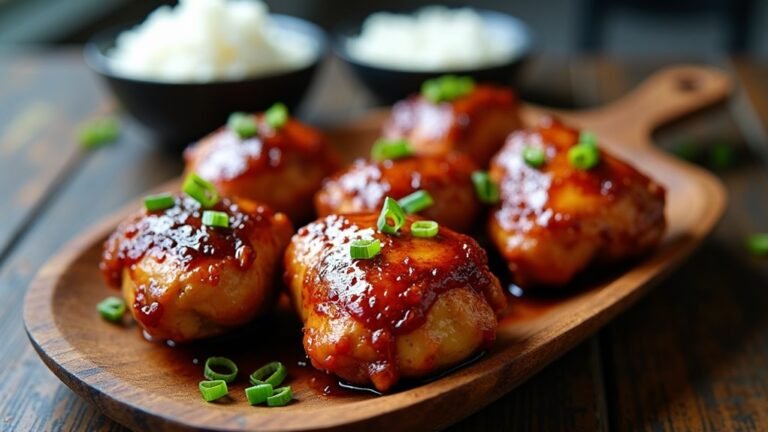
Can I Use Chicken Thighs Instead of Chicken Breasts?
Absolutely, you can use chicken thighs instead of breasts! They're juicy and flavorful, making them a delightful option.
Just adjust the cooking time, as thighs may take a bit longer to cook through. Start by seasoning them well, and when you sauté, ensure the skin gets crispy and golden.
Let them rest before serving to lock in juices. You'll love how they absorb those aromatic garlic and herb flavors beautifully!
What Herbs Can Be Substituted for Thyme, Rosemary, and Oregano?
You can easily switch up the herbs for your dish!
Try substituting thyme, rosemary, and oregano with basil, sage, or marjoram for a fresh twist. Each brings its own unique flavor, making the dish exciting and new.
Basil adds a sweet aroma, sage offers an earthy depth, and marjoram gives a subtle citrusy note.
Don't hesitate to experiment; you might discover a delightful combination that becomes your new favorite!
Is It Possible to Grill Instead of Pan-Fry the Chicken?
Absolutely! You can grill the chicken instead of pan-frying it.
Fire up the grill, let the heat work its magic, and enjoy the smoky flavor that grilling brings.
Season your chicken as usual, preheat the grill to medium-high, and cook each breast for about 6-7 minutes per side, ensuring they're golden and cooked through.
Remember to let them rest for a few minutes before serving, locking in those delicious juices.
Enjoy the experience!
How Can I Make This Dish Spicier?
To spice up the dish, you can add a teaspoon of red pepper flakes or finely diced jalapeños to the garlic when sautéing.
This will infuse a delightful heat into the chicken, making each bite excitingly fiery.
You might also mix a bit of cayenne pepper with the dried herbs.
Taste and adjust according to your preference!
It's a great way to personalize the dish and make it uniquely yours.
Enjoy!
Can I Use Fresh Herbs Instead of Dried Herbs?
Absolutely, you can swap dried herbs for fresh ones!
Think of fresh herbs as the rock 'n' roll version of their dried counterparts, bringing a vibrant, bold flavor to your dish. Use about three times the amount of fresh herbs compared to dried, since they're less concentrated.
Chop them finely to release their aromatic oils, mixing them in towards the end of cooking for maximum flavor impact.
You'll love the fresh, fragrant results!