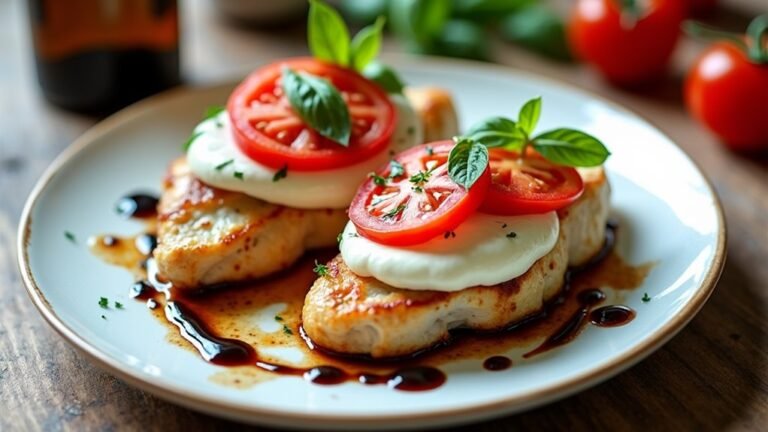
Hawaiian Chicken Recipe: Sweet and Tropical
Embark on a culinary adventure with Hawaiian Chicken, inspired by the journey of Odysseus. Infuse tender chicken with soy sauce and brown sugar for a sweet and savory blend. Add vibrant pineapple chunks to bring a taste of the tropics to your kitchen. The secret to juicy and flavorful chicken lies in mastering this crucial detail.
Key Takeaways
- Use pineapple chunks with juice for a sweet tropical flavor.
- Brown chicken in oil for a golden exterior and rich taste.
- Combine soy sauce and brown sugar for a savory-sweet glaze.
- Simmer chicken with sauce and pineapple for 15-20 minutes on low heat.
- Serve with rice or vegetables for a complete Hawaiian-inspired meal.
Recipe
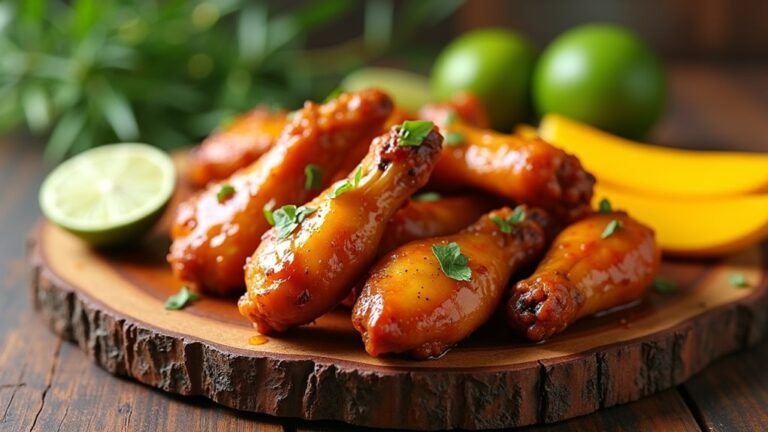
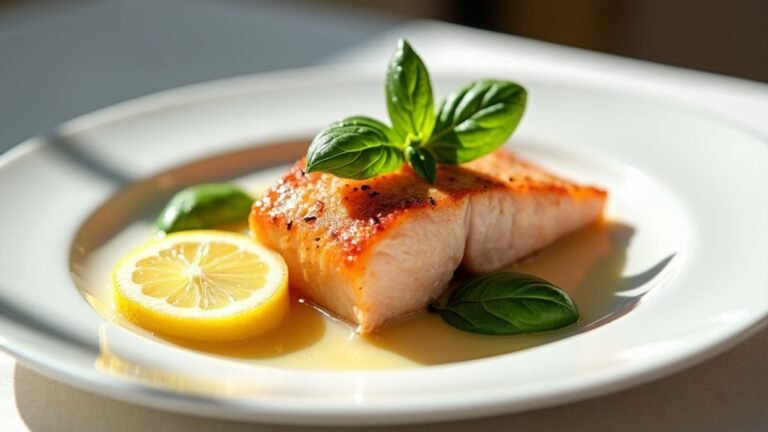
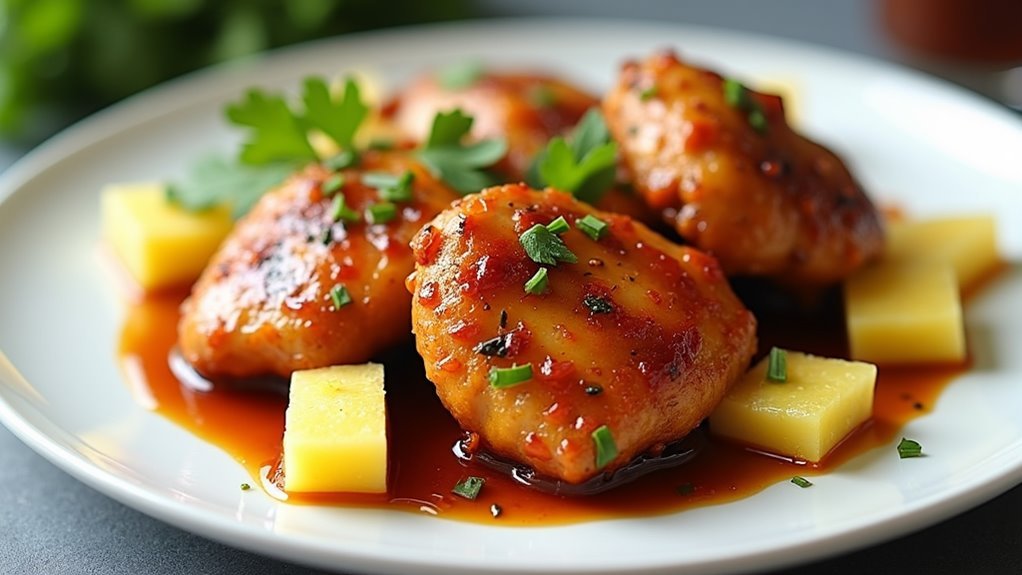
Hawaiian Chicken is a delightful dish that captures the vibrant and refreshing flavors of the tropics. By combining sweet pineapple with savory soy sauce and brown sugar, this recipe offers a perfect balance of flavors that's both satisfying and reminiscent of a Hawaiian luau. The tender chicken is enveloped in a rich, caramelized glaze, making it a standout dish that's simple to prepare and sure to impress.
The beauty of this recipe lies in its simplicity, requiring only five main ingredients that come together to create a delicious meal. The use of pineapple chunks not only adds a burst of sweetness but also infuses the chicken with a unique depth of flavor. The result is a dish that's both visually appealing and packed with taste, making it an ideal choice for a quick weeknight dinner or a special occasion.
Ingredients:
- 4 chicken breasts
- 1 can pineapple chunks with juice
- 1/2 cup soy sauce
- 1/4 cup brown sugar
- 2 tablespoons vegetable oil
To prepare the Hawaiian Chicken, start by heating the vegetable oil in a large skillet over medium heat. Place the chicken breasts in the skillet and cook them for 5-7 minutes on each side until they're golden brown.
Once the chicken has browned, add the soy sauce, brown sugar, and pineapple chunks with their juice to the skillet. Reduce the heat to low, cover the skillet, and let the mixture simmer for 15-20 minutes. Occasionally spoon the sauce over the chicken to ensure it's evenly coated and to help the sauce thicken into a glaze. The chicken is ready when it reaches an internal temperature of 165°F (74°C).
For best results, consider marinating the chicken in soy sauce and pineapple juice for at least 30 minutes before cooking to enhance the flavors. If the sauce thickens too much during cooking, simply add a small amount of water to achieve the desired consistency.
Allow the dish to rest for about 5 minutes before serving to let the juices redistribute, ensuring every bite is juicy and flavorful.
Cooking Steps
Get ready to bring a taste of Hawaii to your kitchen by starting with heating some vegetable oil in a skillet until it shimmers.
Next, cook the chicken breasts until they're golden brown on both sides, then pour in the delightful mix of soy sauce, brown sugar, and juicy pineapple chunks.
Let everything simmer together, filling your home with mouthwatering aromas, and remember to let the chicken rest for a few minutes after cooking to ensure every bite is succulent and flavorful.
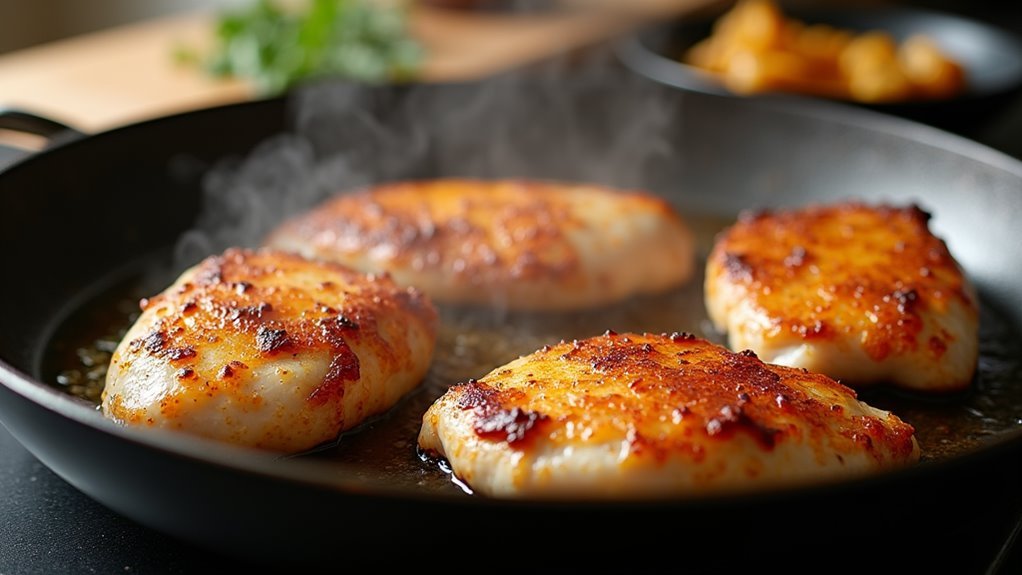
Step 1. Heat Oil in Skillet
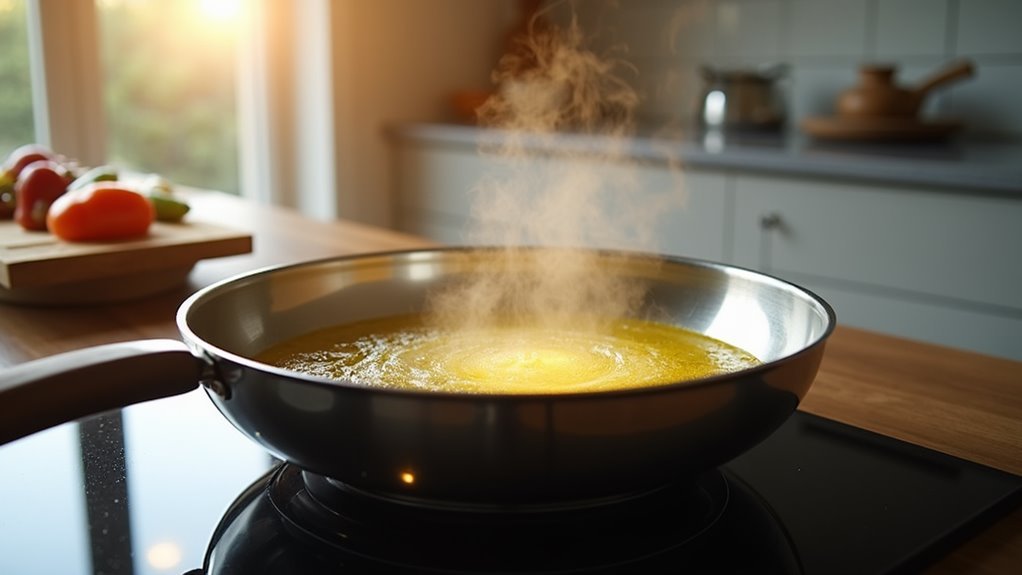
Before cooking the chicken, heat the vegetable oil in a large skillet over medium heat until it shimmers, signaling it's ready for use. This moment is your cue to start creating a delightful Hawaiian chicken dish that'll dazzle your taste buds.
When the oil shimmers, it means it's hot enough to cook the chicken evenly, ensuring a juicy and tender outcome. The right oil temperature is crucial because it helps prevent sticking and ensures a beautiful sear on the chicken.
You'll want to use a large enough skillet to give the chicken room to cook without crowding, which can lead to steaming instead of browning. This simple step sets the stage for a culinary journey to the tropics, filling your kitchen with delicious aromas.
Step 2. Cook Chicken Until Golden
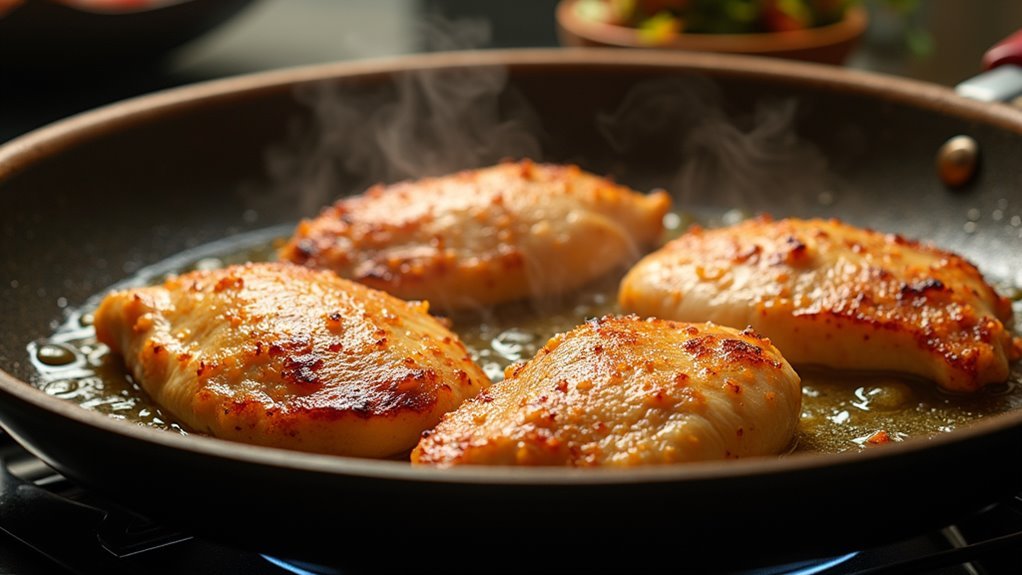
Once the oil is shimmering, carefully place the chicken breasts in the skillet, ensuring they're evenly spaced.
You'll want to hear that satisfying sizzle as soon as the chicken hits the pan. This sound means you're on your way to achieving that beautiful golden crust.
Make sure to cook each side for about 5-7 minutes, adjusting the heat if necessary to avoid burning. As the chicken cooks, the kitchen will fill with a delicious aroma, hinting at the tropical flavors to come.
Peek underneath the chicken occasionally to check for that perfect golden-brown color. This step locks in the juices, ensuring tender, flavorful chicken.
Your patience and care here will make all the difference in your Hawaiian chicken masterpiece!
Step 3. Add Soy Sauce Mixture

The moment has arrived to infuse your dish with rich, savory flavors. Pour the soy sauce and brown sugar mixture into the skillet, letting it blend beautifully with the chicken.
This is where the magic happens, transforming your meal into a tropical delight. As you pour, notice how the sauce begins to coat each piece of chicken, adding a glossy sheen that promises flavor in every bite.
Stir gently to ensure the chicken absorbs all the delicious goodness. You're not just adding ingredients; you're crafting an experience.
The balance of sweet soy and sugar mingles with the savory chicken, creating a symphony of flavors. Let your senses guide you, and relish the anticipation of what's to come.
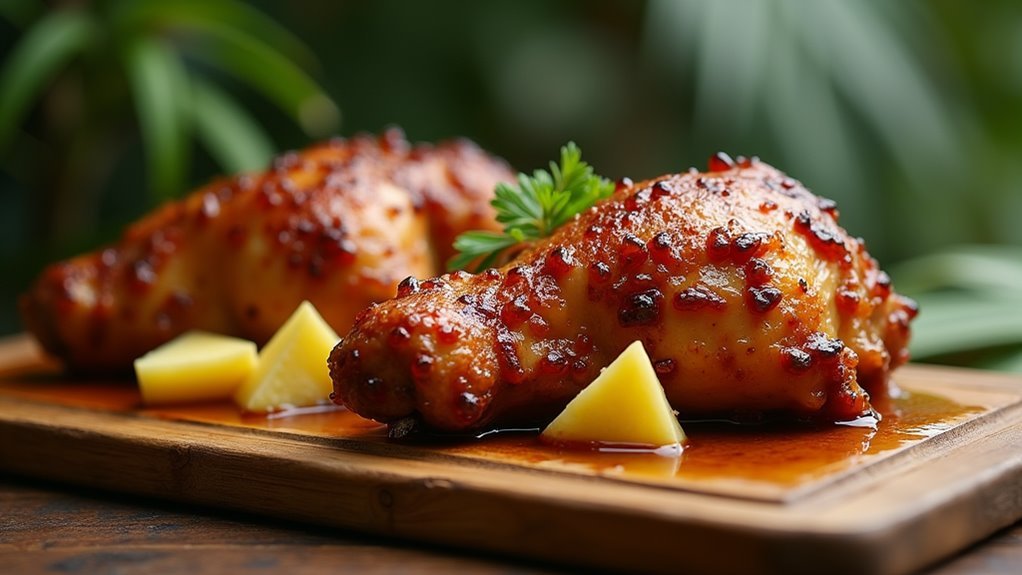
Step 4. Simmer With Pineapple Chunks
Now it's time to add those juicy pineapple chunks, bringing a burst of tropical sweetness to your skillet. Carefully pour in the pineapple chunks and their juice, letting them mingle with the soy sauce and brown sugar to create a flavorful glaze.
Stir gently, ensuring the chicken is well-coated. As the mixture simmers, the pineapple releases its natural sugars, enhancing the savory glaze and infusing the chicken with a delicious tropical aroma.
Lower the heat to maintain a gentle simmer, cover the skillet, and let the magic happen. Occasionally, lift the lid to spoon the sauce over the chicken, keeping it moist and flavorful.
This step ensures your Hawaiian chicken remains tender and infused with that irresistible island taste.
Step 5. Rest Chicken Before Serving
After simmering with pineapple chunks, let the chicken rest before serving. This step is crucial, so don't skip it!
Allowing the chicken to rest for about five minutes lets the juices redistribute, making each bite juicy and flavorful. During this time, the flavors meld together even more, enhancing that sweet and savory balance you're aiming for.
You've worked hard to create this tropical masterpiece, and waiting these few extra minutes will make a world of difference.
As you let the chicken rest, you can take a moment to prepare your table setting. Maybe add a touch of island charm with some fresh pineapple slices or a sprinkle of toasted coconut.
Get ready to transport your taste buds to a Hawaiian paradise!
Final Thoughts
When you've finished preparing your Hawaiian Chicken, you'll appreciate how such a simple recipe can deliver a satisfying taste of the tropics. The sweetness of pineapple perfectly complements the savory chicken, creating a delightful balance that's sure to please your taste buds.
With every bite, you're transported to a sun-drenched Hawaiian beach, feeling the warmth and joy of island life. This dish isn't only delicious but also a wonderful way to bring some excitement to your dinner table.
You'll find it's perfect for family dinners or casual get-togethers, offering a burst of flavor that everyone will love. So, go ahead and share this tropical treat with your loved ones, creating memorable meals that celebrate the joy of cooking and eating together.
Frequently Asked Questions
Can I Use Fresh Pineapple Instead of Canned?
Absolutely, you can use fresh pineapple instead of canned! Just cut your pineapple into chunks and use the juice from the fresh fruit in the recipe.
This little swap adds a burst of freshness that'll make your Hawaiian Chicken even more delicious. If your pineapple isn't juicy enough, you might need a splash of water to balance the sauce.
Dive into this tropical delight and bring a taste of paradise to your table!
What Can I Substitute for Soy Sauce?
If you're out of soy sauce, don't worry! You can substitute it with tamari for a gluten-free option, or coconut aminos for a slightly sweeter taste.
Both alternatives maintain the rich, savory flavor you love. If you prefer a homemade touch, mix Worcestershire sauce with a bit of molasses and lemon juice.
Dive into your cooking adventure with confidence, knowing you've got flavorful options to keep your dish delightful!
How Can I Make It Gluten-Free?
To make your dish gluten-free, swap soy sauce with tamari or coconut aminos.
These alternatives offer similar savory flavors without the gluten.
Tamari is rich and smooth, perfect for maintaining that tasty glaze, while coconut aminos bring a slightly sweeter note.
You're not losing any flavor here, just ensuring everyone can enjoy!
Give it a try, and you'll see how easy and delicious gluten-free cooking can be!
Can I Use Chicken Thighs Instead of Breasts?
Absolutely, you can swap chicken thighs for breasts!
Thighs give you that juicy, tender goodness, perfect for soaking up all that sweet and savory sauce.
Just make sure you adjust the cooking time a bit, as thighs might need a little longer to cook through.
Keep an eye on them until they reach 165°F.
The result? An even more flavorful twist on this delightful dish that'll have everyone asking for seconds!
Is This Recipe Suitable for Meal Prep?
Absolutely, this recipe's perfect for meal prep!
You can easily make it ahead, and the flavors actually get better as they marinate in the fridge.
Just cook the chicken as directed, then portion it into containers with some of the delicious glaze.
Pair it with rice or vegetables for a balanced meal.
The sweet and savory combo will keep you excited for lunch every day, making it both practical and tasty!