Italian Sausage Skewers Recipe: Grilled to Perfection
Imagine your taste buds dancing as you create Italian Sausage Skewers, grilled to perfection. Slice the savory sausages and thread them with vibrant bell peppers and onions for a colorful dish.
Brush your skewers with olive oil and Italian seasoning to craft an experience, not just a meal. Preheat your grill and let the skewers sizzle, ensuring each bite offers a perfect balance of smokiness and flavor.
Key Takeaways
- Slice Italian sausages into 1-inch pieces for even cooking on skewers.
- Alternate threading of sausage, bell peppers, and red onions for balanced flavors.
- Brush skewers with olive oil and Italian seasoning before grilling.
- Preheat grill to medium-high heat and rotate skewers every 3-4 minutes.
- Soak wooden skewers or use metal ones to prevent burning during grilling.
Recipe
Italian Sausage Skewers are a delightful and easy-to-make dish that brings the rich flavors of Italian cuisine to your grill. Perfect for any occasion, these skewers combine juicy Italian sausages with fresh vegetables, offering a colorful and flavorful meal. The natural juices from the sausage enhance the taste of the grilled vegetables, making each bite irresistible. This recipe is perfect for summer barbecues, family gatherings, or a simple weeknight dinner, allowing you to enjoy the taste of Italy in your own backyard.
The preparation is straightforward, requiring minimal effort while delivering a satisfying result. The key to this dish lies in the quality of the ingredients and the method of grilling. By using fresh bell peppers and red onions, you add a touch of sweetness that complements the savory notes of the sausage. Pair these with a drizzle of olive oil and a sprinkle of Italian seasoning to elevate the flavors further. The grilling process caramelizes the sausage and vegetables, creating a harmonious balance of textures and flavors.
Ingredients:
- Italian sausage links
- Bell peppers
- Red onions
- Olive oil
- Italian seasoning
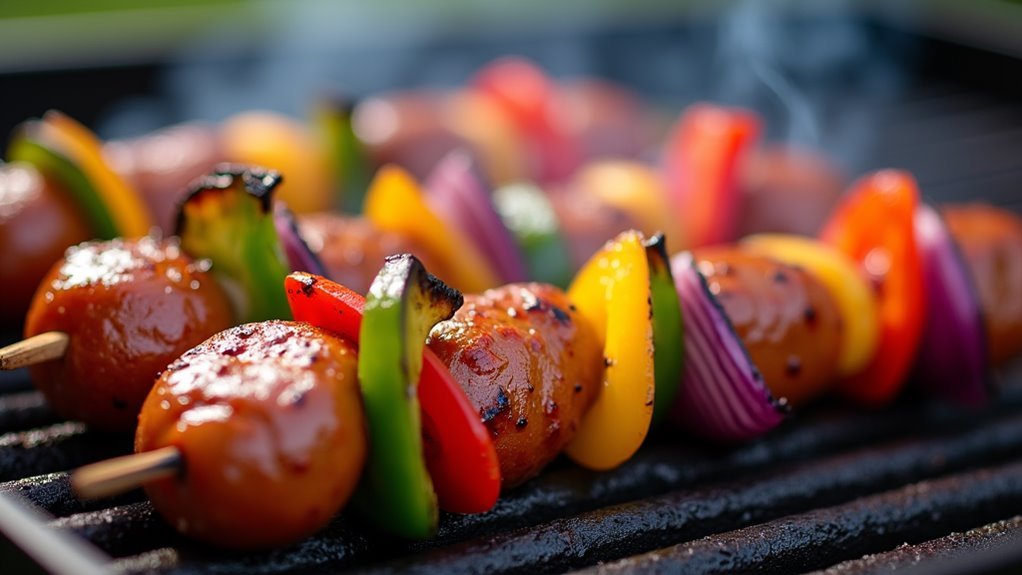
To prepare Italian Sausage Skewers, begin by cutting the sausage links into 1-inch pieces. Slice the bell peppers and red onions into similar-sized chunks. Thread the sausage pieces onto the skewers, alternating with the bell peppers and red onions to create a vibrant pattern.
Brush the assembled skewers lightly with olive oil and season generously with Italian seasoning. Preheat your grill to medium-high heat, around 375°F, and place the skewers on the grates. Grill for approximately 12-15 minutes, turning every 3-4 minutes to ensure even cooking. The sausages should be thoroughly cooked, and the vegetables should be tender with slight char marks.
For optimal results, soak wooden skewers in water for at least 30 minutes before assembling to avoid burning. Alternatively, use metal skewers for durability and repeated use. Allow the sausages to reach room temperature before grilling to promote even cooking throughout.
Be mindful of potential flare-ups caused by the sausage fat; maintain a cooler section on the grill to move the skewers if needed. This attention to detail ensures a perfectly grilled dish every time.
Cooking Steps
You're about to embark on a delicious journey with these Italian sausage skewers, so let's get started!
First, slice the sausages into 1-inch pieces and thread them onto metal skewers, alternating with colorful bell peppers and red onions for that perfect taste and look.
Brush everything with a generous coat of olive oil, then preheat your grill to 375°F and get ready to rotate those skewers every 4 minutes for even cooking and a delightful char.
Step 1. Slice Sausages Into Pieces

Begin by grabbing the Italian sausage links and slicing them into 1-inch pieces.
This step is where the magic begins, as each piece will soon be bursting with flavor from the grill.
Don't rush this part; take your time to ensure even-sized pieces for consistent cooking.
The sausages should have that perfect balance of savory spice and juicy tenderness.
As you slice, imagine the delightful aroma that will soon fill the air.
This simple action sets the stage for a delicious experience.
Remember, precision here helps you achieve those perfectly caramelized edges.
These bite-sized chunks are the cornerstone of your skewers, making sure every bite is packed with the rich, authentic taste of Italian sausage.
Enjoy this step!
Step 2. Thread Onto Metal Skewers

Now that your sausage pieces are ready, it's time to thread them onto metal skewers along with the vegetables.
Grab a skewer and start by sliding a piece of sausage onto it, then add a chunk of bell pepper and a slice of red onion. Alternate between sausage and vegetables, creating a colorful and tasty pattern.
Keep a little space between items to ensure even cooking. This step is where the fun begins, as you watch your skewers take shape, knowing each bite will be filled with delicious flavors.
The metal skewers are perfect for grilling, allowing the sausages and veggies to cook evenly. Enjoy the process, and get ready for the next step in your grilling adventure!
Step 3. Brush Skewers With Oil
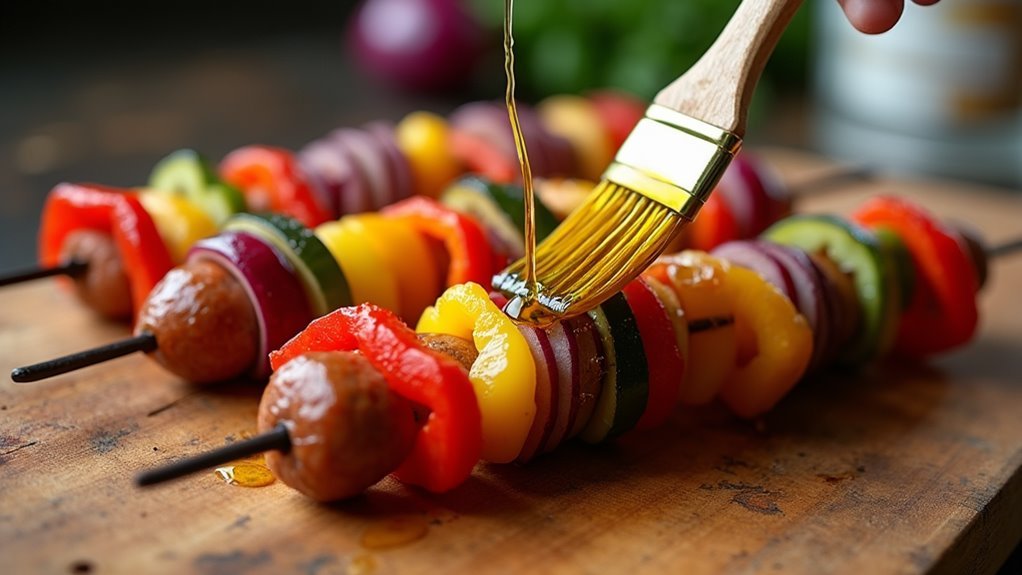
After assembling your skewers, it's time to enhance their flavors by brushing them with olive oil. Grab a brush, dip it into your favorite olive oil, and lightly coat each skewer. This simple step locks in moisture, ensuring the Italian sausage stays juicy as it cooks.
The oil also helps the vegetables caramelize beautifully, adding a delicious depth to their natural sweetness. As you brush, don't rush—take a moment to appreciate the vibrant colors of the bell peppers and red onions.
The olive oil adds a subtle richness that elevates the entire dish. This careful attention to detail transforms your skewers into a masterpiece of flavor. With each brushstroke, you're setting the stage for an unforgettable grilling experience.
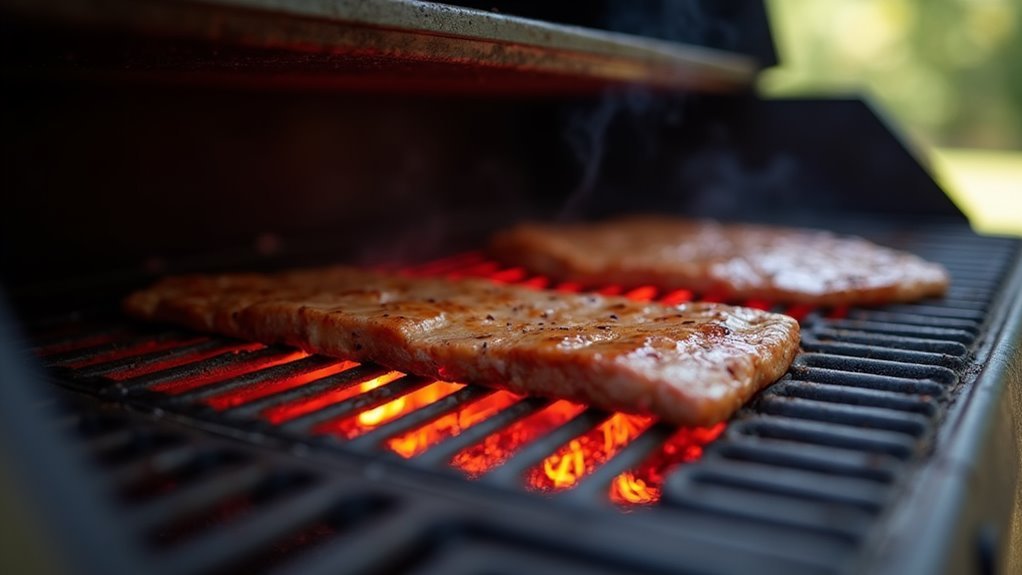
Step 4. Preheat Grill to 375°F

To ensure your Italian sausage skewers cook evenly and develop a perfect char, preheat the grill to 375°F. This temperature is ideal for achieving that savory, smoky flavor while keeping the sausages juicy.
Before you start grilling, make sure your grill grates are clean and lightly oiled to prevent sticking. Adjust your grill's settings to reach the desired temperature, and let it heat up for about 10-15 minutes.
Don't rush this step, as a properly preheated grill is key to those beautiful grill marks and caramelized edges. The sizzling sound as you place your skewers on the grates will be music to your ears, signaling that deliciousness is on its way.
Enjoy the anticipation of what's to come!
Step 5. Rotate Skewers Every 4 Minutes
With the grill preheated to 375°F, place your Italian sausage skewers on the grates and let the magic begin.
You're about to create a mouthwatering masterpiece! Rotate the skewers every 4 minutes to ensure even cooking and those enticing grill marks. This simple step is crucial to achieving a beautifully caramelized exterior while keeping the sausage juicy inside.
Be sure to use tongs, as they provide better control and help avoid piercing the sausage, keeping all those delicious juices inside.
As you turn the skewers, you'll notice the vegetables softening and getting a lovely char. This rotation routine also helps prevent any burning from unexpected flare-ups.
Keep up the rhythm, and you'll soon savor the perfect balance of flavors and textures!
Final Thoughts
Grilling Italian sausage skewers isn't just about cooking; it's about creating a flavorful experience that you, your family, and friends will remember.
These skewers bring a taste of Italy to your backyard, with every bite offering a burst of savory goodness. The combination of juicy sausages, vibrant bell peppers, and sweet red onions, all seasoned and grilled to perfection, is sure to impress.
Don't be intimidated by the grilling process. With a few simple steps, you'll master it in no time.
Remember to keep an eye on the grill to manage any flare-ups and ensure everything cooks evenly. Once you've tried this recipe, you'll see how easy and rewarding it's to elevate your grilling game.
Enjoy the process, and savor the delicious results!
Frequently Asked Questions
Can I Use Chicken Sausage Instead of Italian Sausage?
Imagine the savory aroma wafting through the air as you grill those skewers.
Yes, you can absolutely swap chicken sausage for Italian sausage. It'll offer a lighter, yet equally delightful flavor profile. Just make sure to adjust the grilling time, as chicken sausage might cook faster.
Pair the juicy bites with vibrant bell peppers and onions, and you've got a delicious, healthier alternative that's sure to impress at any gathering!
Enjoy the sizzle!
How Can I Make the Skewers Spicier?
To spice up your skewers, add some crushed red pepper flakes or finely chopped fresh chili peppers to the olive oil before brushing it on.
You could also try using a spicy Italian sausage or mix in a bit of cayenne pepper with the Italian seasoning.
This will give your skewers a delightful kick, while still allowing the savory flavors of the sausage and vegetables to shine.
Enjoy the fiery twist!
What Side Dishes Pair Well With These Skewers?
Imagine the aroma of freshly grilled Italian sausage skewers wafting through your backyard.
To complement these savory delights, pair them with a vibrant Caprese salad. The juicy tomatoes, creamy mozzarella, and fresh basil will perfectly balance the skewers' rich flavors.
Drizzle with balsamic glaze for an extra zing! It's an easy, refreshing side that'll elevate your meal and impress your guests.
Dive into this delicious combination, and savor every bite!
Can These Skewers Be Baked Instead of Grilled?
Absolutely, you can bake these skewers!
Preheat your oven to 400°F. Arrange the skewers on a baking sheet lined with parchment paper.
Bake for about 20-25 minutes, turning halfway through, until the sausages are fully cooked and the veggies are tender.
You'll love how the oven caramelizes the sausages, locking in their flavors.
This method is perfect for when grilling isn't an option but you still crave that delicious taste!
How Do I Store Leftover Skewers?
When it comes to storing leftover skewers, remember, "waste not, want not!"
First, let them cool completely. Then, place them in an airtight container, separating layers with parchment paper to avoid sticking.
Store them in the refrigerator for up to three days. Reheat gently in an oven or on a stovetop to enjoy those flavors again.
Don't let those delicious bites go to waste—your future self will thank you!