Grilled Cheese Melts Recipe: Gooey and Comforting
Grilled cheese melts provide the comfort of a childhood favorite, much like a warm hug on a cold day. Start by selecting the perfect bread, buttering it generously, and layering it with your favorite cheeses.
As the skillet heats, anticipate the irresistible sizzle that transforms simple ingredients into something extraordinary. Elevate your grilled cheese to gourmet status by exploring secret techniques that enhance this humble dish.
Key Takeaways
- Use a combination of cheddar and American cheese for rich flavor and gooey texture.
- Butter the bread generously to achieve a crispy, golden-brown crust.
- Cook the sandwich on medium heat for even browning and melting.
- Grate cheese instead of using pre-sliced for a smoother texture.
- Allow the grilled cheese to rest before cutting to keep the cheese melted and intact.
Recipe
A grilled cheese sandwich is a timeless classic, beloved for its simplicity and comfort. With just a few ingredients, you can enjoy a delicious meal that satisfies both your hunger and your taste buds. The magic of a grilled cheese lies in its perfect harmony of textures: the crispy, golden-brown crust of the bread and the oozy, melted cheese center. It's a dish that requires minimal effort but delivers maximum satisfaction.
To make the best grilled cheese, the choice of ingredients and cooking technique play crucial roles. Opt for a good-quality bread like white or sourdough, and use a combination of cheeses such as cheddar and American for a balanced flavor profile. Butter is essential for achieving that crispy exterior, while a sprinkle of salt enhances the overall taste.
By paying attention to the heat and timing, you can elevate this humble sandwich into a truly mouthwatering experience.
Ingredients:
- Sliced bread (white or sourdough)
- Butter, softened
- Cheddar cheese slices
- American cheese slices
- Salt
Begin by placing a skillet over medium heat. Butter one side of each slice of bread generously. Layer cheddar and American cheese between two slices of bread, ensuring that the buttered sides face outward. Carefully place the sandwich in the heated skillet and cook for 3-4 minutes until the bottom is golden brown.
Flip the sandwich with caution and cook the other side for an additional 2-3 minutes, allowing the cheese to melt completely and both sides to become crispy. Once cooked, remove the sandwich from the skillet and sprinkle a pinch of salt on top before serving.
For the best results, consider using room temperature cheese and grating it yourself, as this will help it melt more evenly compared to pre-sliced varieties. Be mindful of the heat; using medium heat prevents the bread from burning before the cheese has a chance to melt thoroughly.
If you find the bread browning too quickly, reduce the heat and cover the pan with a lid to help the cheese melt faster. Allow the sandwich to rest for a minute before cutting, which will prevent the melted cheese from spilling out.
Cooking Steps
Get ready to create the ultimate grilled cheese by starting with a skillet heated on medium, ensuring your bread gets the perfect golden crunch.
Generously butter your bread slices, then layer that delicious cheese between them, letting the butter be on the outside for a crispy finish.
Place your sandwich in the skillet, let it cook until golden, flip it gently, and continue until the cheese is perfectly melted and both sides are irresistibly crispy—now, you're just moments away from grilled cheese perfection!
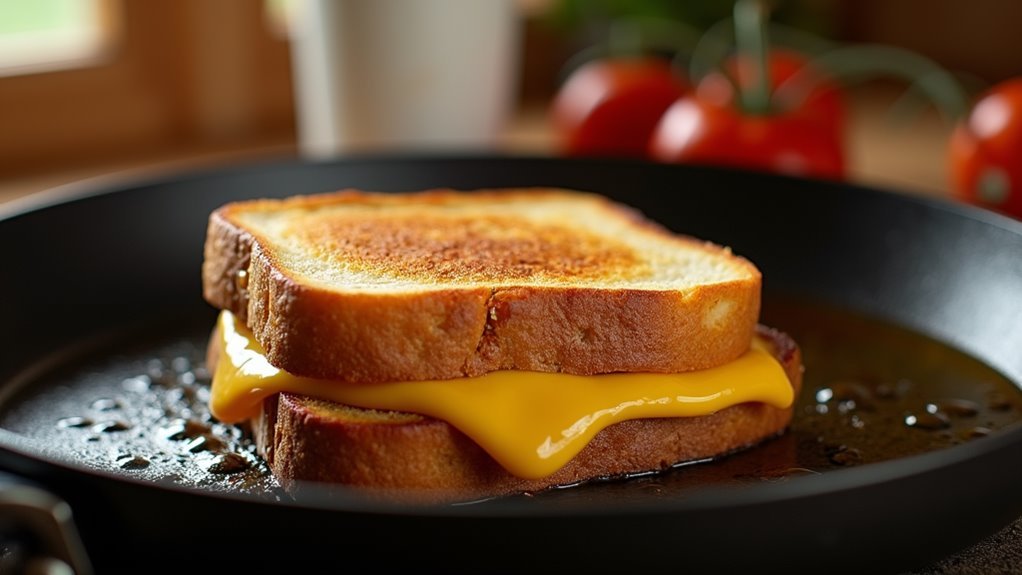
Step 1. Heat Skillet on Medium
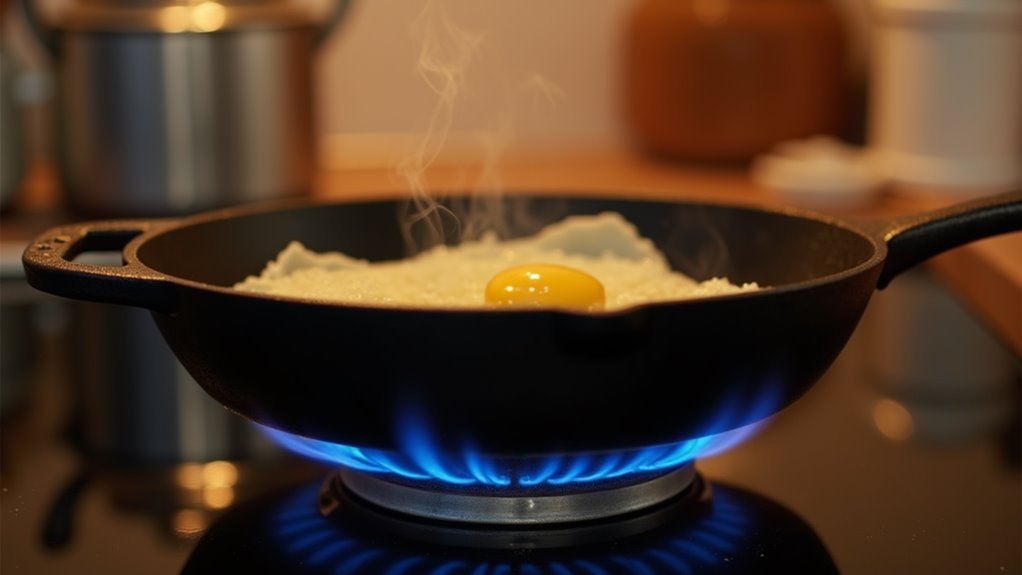
Start by setting your skillet over medium heat, keeping a watchful eye to ensure it doesn't get too hot.
This step is crucial for creating that delicious, crispy crust on your grilled cheese without burning the bread. Medium heat allows the cheese to melt slowly, bringing out its creamy texture and rich flavor.
As the skillet warms, you'll notice it becoming a hub of anticipation and savory aromas. The gentle sizzle you'll soon hear is the sound of comfort in the making.
Take a moment to appreciate this simple yet essential step, as it sets the stage for a perfect grilled cheese experience.
Step 2. Butter Bread Slices Generously
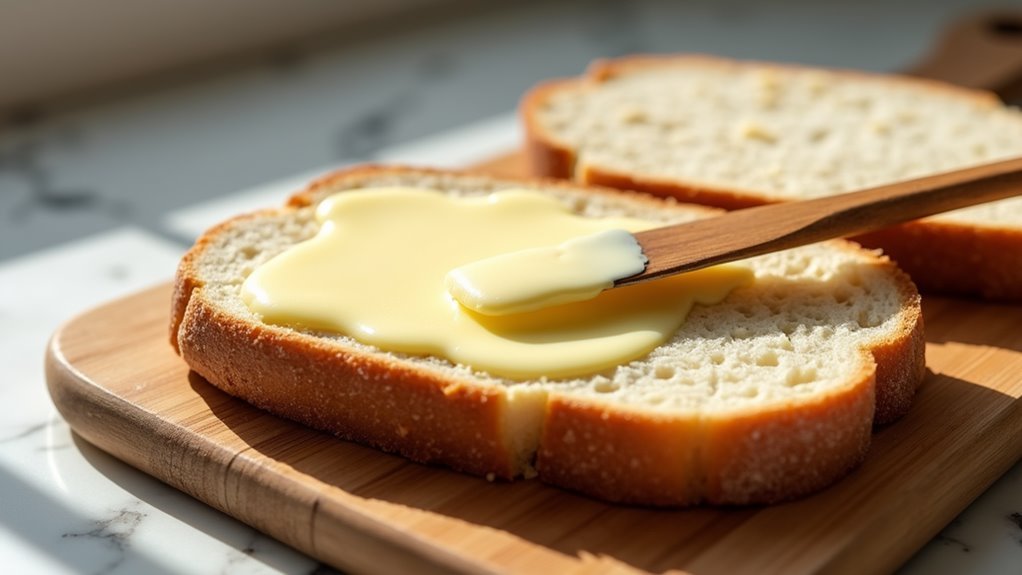
Generously buttering your bread slices is a crucial step in crafting the perfect grilled cheese. It's where the magic begins!
By spreading a thick, even layer of softened butter on one side of each slice, you ensure a golden, crispy exterior that contrasts beautifully with the gooey interior.
Don't be shy with the butter; it's your ticket to achieving that mouthwatering crunch. As you butter, make sure to cover the entire surface, reaching every corner and edge. This way, no spot is left uncrispy.
Use a butter knife or even a spatula to spread it smoothly. Remember, this isn't just about flavor; it's about texture, too.
Once buttered, you're ready to move forward to the next delicious step.
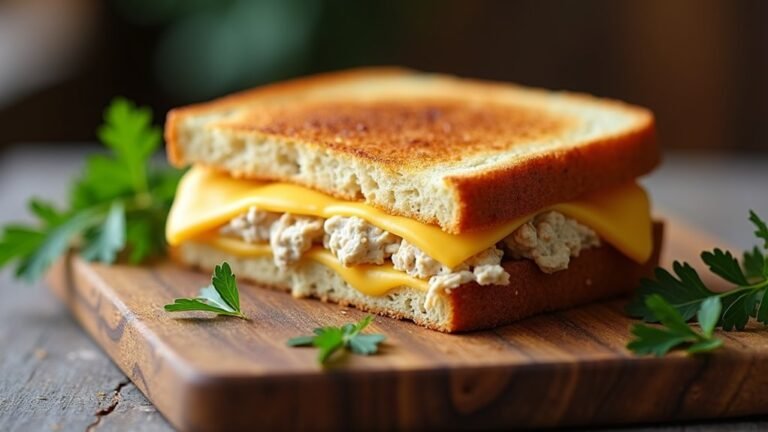
Step 3. Layer Cheese Between Bread
Once your bread is buttered, it's time to layer the cheese for that perfect melt.
Start by placing a slice of cheddar on one unbuttered side of the bread. Next, add a slice of American cheese—it's the secret to that classic gooey texture.
Feel free to get creative and add more layers if you love extra cheesy goodness. Remember, balance is key; too much cheese can make it hard to cook evenly.
Now, top it with the second slice of bread, buttered side up. This simple yet satisfying step is crucial for achieving the ultimate comfort food experience.
You're not just making a sandwich; you're crafting a delightful, melty masterpiece. Get ready to enjoy every cheesy bite!
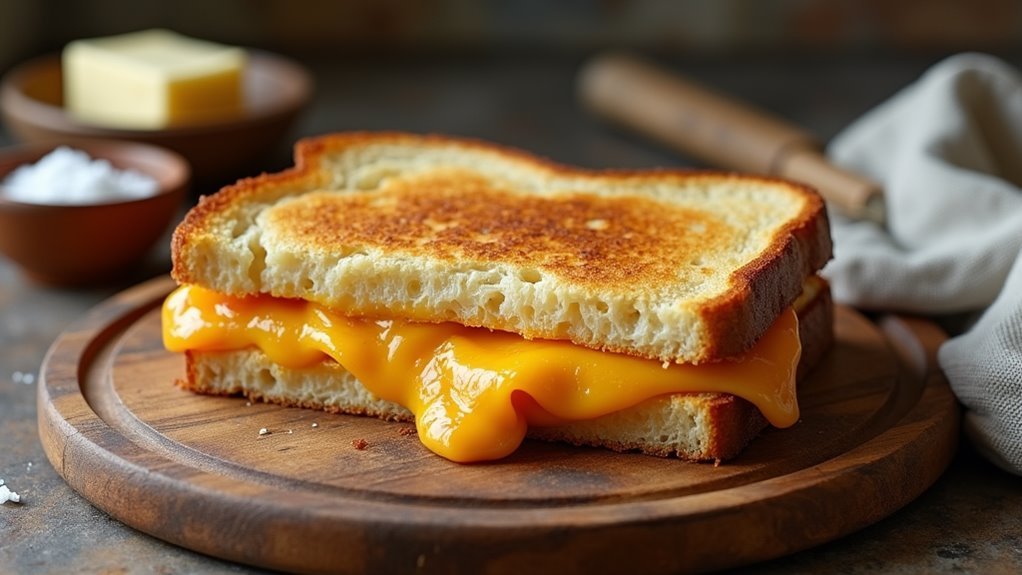
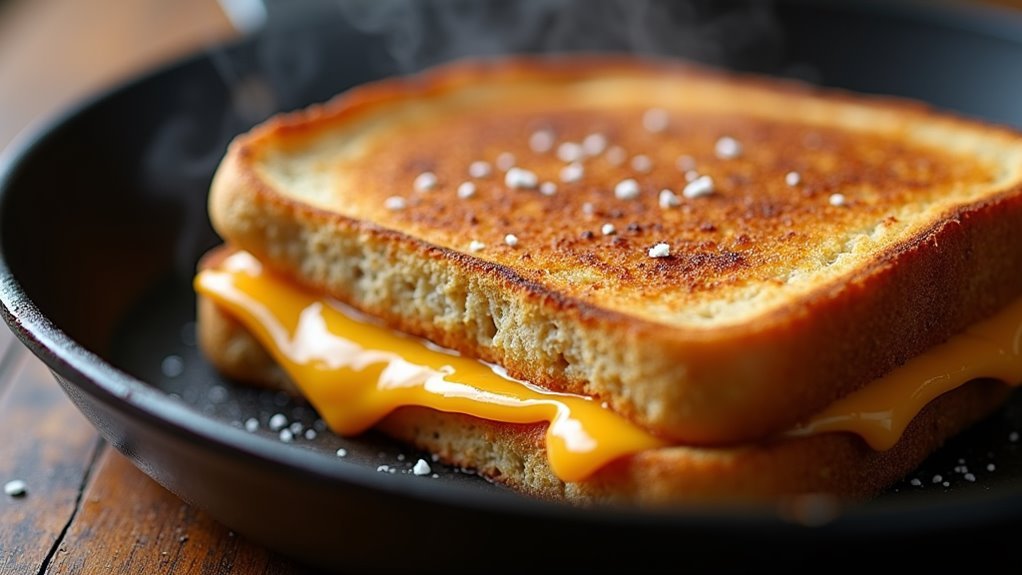
Step 4. Cook Sandwich Until Golden
To achieve that perfect golden crust, place your assembled sandwich in a preheated skillet over medium heat. As the buttered bread hits the pan, you'll hear a delightful sizzle, signaling the start of a mouthwatering transformation.
Let the sandwich sit undisturbed for 3-4 minutes, allowing the bread to soak up the heat and turn a beautiful golden brown. Keep a close eye on it, resisting the urge to press down, which can flatten and ruin the texture. Instead, let the heat work its magic.
If you notice the bread browning too quickly, simply lower the heat a notch. This gentle method ensures the cheese inside melts to a creamy perfection while the outside achieves a satisfying crunch. Enjoy!
Step 5. Flip and Cook Other Side
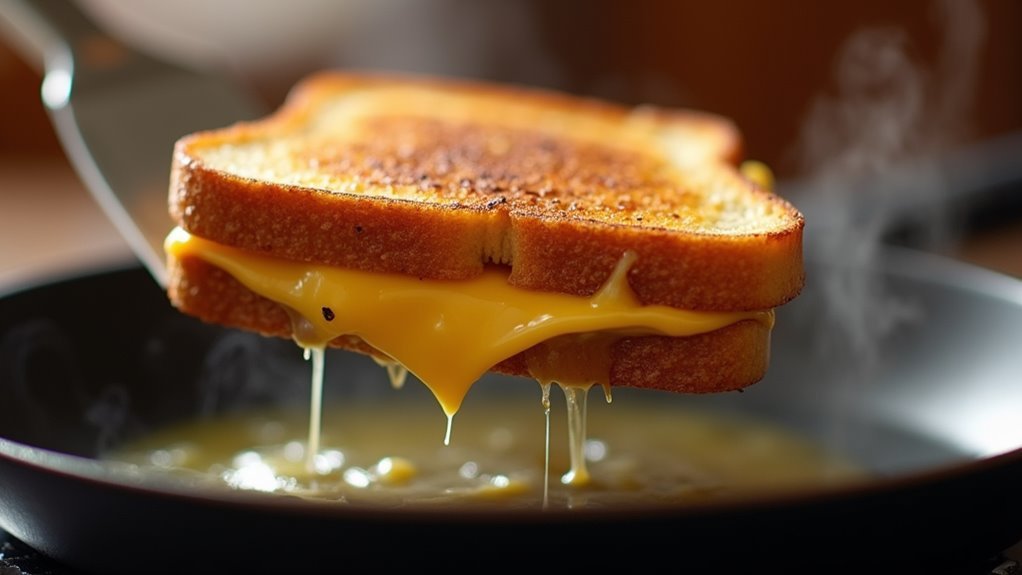
After the first side of your grilled cheese has turned a perfect golden brown, it's time to flip the sandwich and cook the other side.
Use a spatula to carefully lift and flip the sandwich, making sure the cheese stays tucked in. As you do this, feel the anticipation build—you're so close to that gooey, comforting masterpiece!
Lower the heat slightly to ensure the bread crisps up just right, without burning. Cook for another 2-3 minutes, letting the cheese melt to perfection, filling your kitchen with its irresistible aroma.
The second side should be equally golden and crispy. Once done, let your grilled cheese rest briefly; this helps the cheese settle, ensuring every bite is deliciously gooey and satisfying.
Final Thoughts
A perfectly grilled cheese sandwich is more than just a meal; it's a nostalgic trip back to simpler times. Imagine biting into that crispy, buttery bread, with gooey cheese stretching between each bite. It's pure comfort!
Whether you're making it for a quick lunch or a midnight snack, the process is simple and satisfying. With just a bit of butter, the right cheese, and a skillet, you've got a masterpiece.
Don't rush it—let the cheese melt slowly for that perfect texture. And remember, patience and practice make each sandwich better than the last.
Enjoy the journey of creating your own version of this classic. So grab your ingredients, heat that pan, and savor the timeless pleasure of a homemade grilled cheese.
Frequently Asked Questions
Can I Use Gluten-Free Bread for Grilled Cheese?
Did you know that nearly 30% of Americans are trying to reduce their gluten intake?
You can definitely use gluten-free bread for your grilled cheese, and it's a fantastic choice! Just make sure you select a bread that holds up well when toasted.
Gluten-free breads can sometimes be crumbly, so a slightly thicker slice works best. Follow the same technique, and you'll have a delicious, gooey sandwich that everyone can enjoy.
What Are Some Cheese Alternatives for Lactose-Intolerant Individuals?
You can still enjoy a delicious grilled cheese even if you're lactose-intolerant!
Try using lactose-free cheese, available in many varieties like cheddar and mozzarella.
Alternatively, explore vegan cheeses made from nuts or soy, which melt beautifully and offer a creamy texture.
Brands like Daiya or Violife provide great options.
Don't forget to experiment and find the perfect cheese that suits your taste while keeping your grilled cheese gooey and satisfying!
How Can I Make a Vegan Version of Grilled Cheese?
You can totally make a vegan grilled cheese! Start by using your favorite plant-based butter to spread on the bread.
Choose a vegan cheese that melts well, like a coconut or cashew-based cheddar. Add a sprinkle of nutritional yeast for extra flavor.
Heat your skillet over medium, place your sandwich in, and cook until golden and gooey.
Flip carefully, cook the other side, and enjoy the delicious, melty goodness!
What Additional Ingredients Can Enhance the Sandwich?
Think of a grilled cheese as a canvas, ready for your culinary masterpiece.
Add a layer of crisp bacon or tangy tomato slices for a taste explosion. A sprinkle of garlic powder or herbs like basil can elevate each bite.
Try caramelized onions for a sweet twist or avocado for creamy goodness.
Experimenting with these ingredients creates a unique sandwich experience, making each bite a delightful journey.
Enjoy crafting your perfect creation!
How Can I Prevent the Sandwich From Becoming Soggy?
To prevent your sandwich from becoming soggy, focus on getting that perfect crisp!
Start by using day-old bread, which is less moist. Spread butter evenly on the outer sides, and press firmly in the pan. Cook on medium heat, allowing the cheese to melt gradually.
Avoid overstuffing with fillings that release moisture. If you're adding extras like tomatoes, pat them dry first.
This will ensure a delightful crunch with every bite!